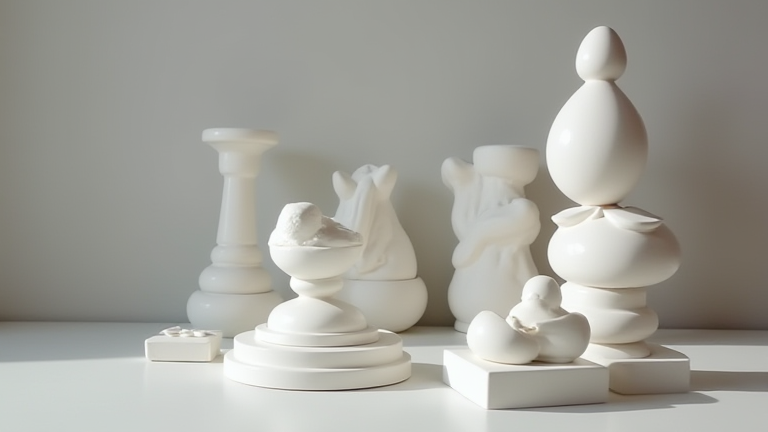
Porcelain Sculpture Tutorial: Step-by-Step Guide
TL;DR: Shape wet porcelain clay by hand or with simple tools, allow it to dry to leather-hard, then carve and assemble. Fire it twice—bisque and glaze—for a durable, glassy finish.
Porcelain is a demanding but rewarding medium for figurines and sculptures. Its fine white body captures delicate details that stoneware cannot. Follow this guide to create your own collectible piece.
If you want to dig deeper, check out our guide on Porcelain Figurines: The Best Business Ideas for Sculpture C.
Step 1: Prepare Your Clay
Knead (wedge) your porcelain clay to remove air bubbles. Porcelain is less forgiving than other clays—use a damp cloth to keep it moist, but not sticky. For a small figurine, start with 500g of clay. Keep a spray bottle handy.
Step 2: Build the Core Structure
Form the main mass—torso, head, or base—as a solid block. Do not hollow yet. For a standing figure, roll a coil for the spine and attach a sphere for the head. Press firmly to weld seams; trapped air causes explosions in the kiln.
Step 3: Shape the Limbs and Details
Roll tapered coils for arms and legs. Attach them at the joints with slip (liquid porcelain clay) and score the surfaces with a needle tool. For flowing robes or animal fur, pinch and pull the clay gently. Use a loop tool to carve facial features, fingers, and texture lines while the clay is still soft.
Step 4: Dry to Leather-Hard
Cover your sculpture with plastic for 24–48 hours until it feels like firm leather—cool and slightly damp, but not wet. At this stage, refine details, add lace-like frills, or smooth surfaces with a metal rib. Remove excess clay from the base to prevent warping.
Step 5: Hollow the Interior (for solid pieces over 3 cm thick)
Cut a small hole in the bottom or back. Using a wire loop tool, scoop out the clay to a uniform wall thickness of about 6 mm. This prevents cracking during bisque firing. Reattach the cut piece with slip, smoothing the seam.
Step 6: First Firing (Bisque)
Let the sculpture dry completely—no cool spots. Fire to cone 06 (about 1830°F / 1000°C). This hardens the clay into a porous, chalky state. Cool slowly in the kiln to avoid thermal shock.
Step 7: Glaze and Second Firing
Apply 2–3 thin coats of underglaze (for color) and a clear gloss glaze over the top. Leave the base unglazed to avoid sticking to the kiln shelf. Fire to cone 6 (about 2232°F / 1222°C) for true porcelain translucency. Let cool completely before handling.
Pro Tips for Success
Work in small sections—porcelain dries fast. Always test your glaze on a scrap tile. For delicate parts like outstretched fingers, support them with a rolled clay prop until leather-hard. Never rush drying; a slow, even dry prevents cracks.
FAQ
Q: Can I use air-dry porcelain clay for figurines?
A: Yes, but it won’t be true fired porcelain—it will be less durable and not food-safe or water-resistant. For collectible sculptures, kiln-fired porcelain is recommended.
Q: Why did my porcelain sculpture crack during drying?
A: Likely caused by uneven thickness, trapped air, or drying too fast. Always hollow thick sections, wedge thoroughly, and cover with plastic for the first day.
Q: How do I fix a broken porcelain figurine after firing?
A: Use two-part epoxy or cyanoacrylate glue for clean breaks. For missing chips
Leave a Reply