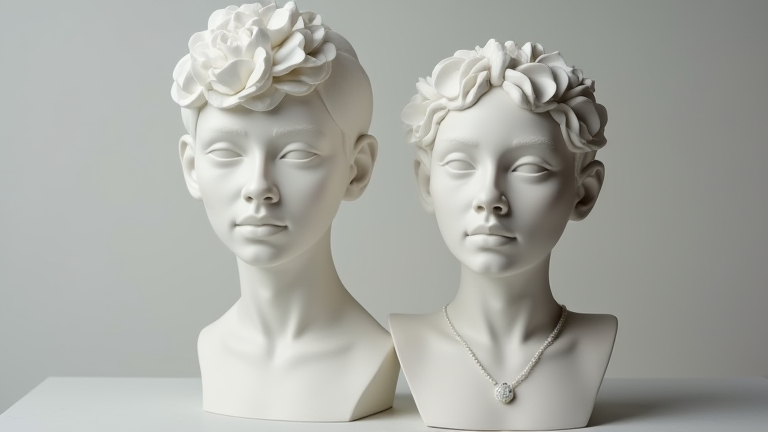
TL;DR: To master porcelain sculpture as a beginner, focus on slip consistency, hollow-building to prevent explosions, and slow, even drying. Start with simple figurines like a bird or flower, using coil and pinch methods before attempting complex human forms.
Choosing Your Porcelain Clay and Tools
Porcelain is finer and more translucent than stoneware, but it’s also less forgiving—it sags easily and dries quickly. For figurines, use a cone 6 or cone 10 porcelain body with fine grog (or no grog) to keep details crisp. You’ll need: a rolling pin, wooden modeling tools, a needle tool, a soft sponge, a spray bottle, and a wire cutter. Avoid metal ribs; they create shiny, non-porous surfaces that prevent even drying. Keep your work area covered with plastic sheeting and have a damp cloth ready to slow the drying process.
If you want to dig deeper, check out our guide on DIY Guide: How to Paint & Glaze Porcelain Figurines.
Step 1: Prepare the Slip and Solid Base
Make a thick slip by soaking dried porcelain scraps in water for 24 hours, then blend until creamy (like yogurt). Roll a slab of clay 1 cm thick for the base. Cut a simple oval or circle—this will be the foot of your figurine. Score the top edge with a needle tool, apply slip, and set aside. Important: never work on a solid lump of porcelain for anything taller than 5 cm—it will explode in the kiln. Instead, build hollow.
Step 2: Build the Hollow Body Using Coils
Roll coils about 1 cm thick. Starting from the scored base, stack coils in a spiral, pressing each joint with your finger and blending with a wooden rib. Keep the walls uniform (8–10 mm thick). As you build upward, shape the torso, neck, and head of your figurine—think of a bird or a seated cat. For a human figurine, make the torso first, then pinch out the arms separately. Leave a small opening at the top or bottom to allow air to escape.
Step 3: Add Details While Leather-Hard
Wait until the clay is leather-hard (cool to the touch, no fingerprint marks). Carve facial features, clothing folds, or feathers using your needle tool. For delicate parts like fingers or wings, attach them with thick slip and support them with rolled paper or foam props until firm. Never add a solid appendage—hollow it out with a loop tool. Smooth surfaces with a damp sponge, but do not overwork, or you’ll bring water to the surface and cause cracking.
Step 4: Dry and Fire Slowly
Dry your figurine under loose plastic for 5–7 days, then unwrap and dry for another 3 days. It must be bone-dry (no cool spots) before bisque firing. Fire to cone 04 (bisque), then glaze with underglazes for porcelain—use thin coats to avoid blurring details. Glaze fire to cone 6. Important: porcelain shrinks ~12%, so keep your figurine small (under 20 cm) to avoid warping.
Step 5: Finishing Tips for Beginners
Always test-fire a small sample with your glaze. For matte finishes, use a low-gloss clear glaze. If a crack appears during drying, fill it with thick slip and wrap in plastic for 24 hours—do not rush. For glossy, translucent effects, leave one unglazed area (like a face) to show the porcelain’s natural whiteness.
FAQ
Q: Why did my porcelain figurine collapse during drying?
A: The walls were likely too thin or unsupported. Keep walls at least 8 mm thick, and do not build taller than 15 cm without an internal armature (like a rolled newspaper core) that you remove before firing.
Q: Can I use regular stoneware glazes on porcelain figurines?
A: Yes, but they will appear darker and less translucent. For
Leave a Reply