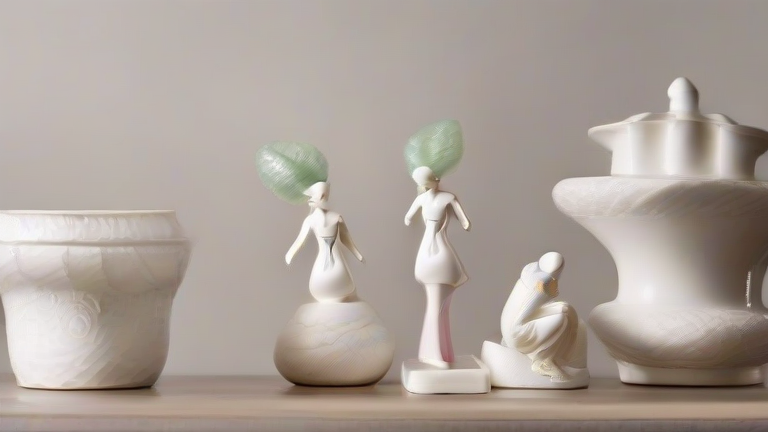
TL;DR: Clean and prime your porcelain figurine, then paint with acrylics using thin, even coats. Finish with a clear glaze or antiquing wash to protect the paint and add depth, sealing with a matte or gloss varnish.
Step 1: Prep Your Porcelain Surface
Wash the figurine with warm water and a drop of dish soap to remove dust and oils. Rinse and let dry completely. Lightly sand glossy areas with 400-grit sandpaper (or a fine nail buffer) to create tooth for the paint. Wipe off the dust with a tack cloth. Do not skip this—paint will bead up on slick porcelain.
If you want to dig deeper, check out our guide on Why UGG Boots Are the Most Reordered Fashion Trend.
Step 2: Prime for Adhesion
Apply a thin coat of spray primer made for plastics or ceramics (e.g., Krylon Fusion) in a well-ventilated area. Hold the can 8–10 inches away and use sweeping motions. Let dry for 1 hour. For tiny crevices, use a brush-on gesso primer and a fine brush. Two thin coats are better than one thick coat.
Step 3: Paint with Thin Acrylic Layers
Use high-quality acrylic craft paints (not heavy body). Mix with a drop of water or acrylic medium to a milky consistency. Paint the largest areas first, using a flat brush for robes and a liner brush for details. Apply 3–5 ultra-thin coats, waiting 10–15 minutes between each. Avoid overbrushing—let the paint self-level. For skin tones, build up from a pale base to rosy cheeks with dry brushing.
Step 4: Glaze for Depth or Antiquing
For a glossy, collectible look, brush on a water-based gloss glaze (like FolkArt Glass & Tile Glaze) over the dried paint. For an antique or shaded effect, mix 1 part burnt umber acrylic with 4 parts glazing medium. Apply to the recessed areas (folds, eyes, hair), then wipe the high spots with a damp cloth, leaving shadow in the crevices. Let dry 24 hours.
Step 5: Seal and Cure
Finish with two coats of a spray-on acrylic sealer—matte for a porcelain finish, satin for a subtle sheen, or gloss for a high shine. Let each coat dry 30 minutes. Then bake the figurine in a cool oven (200°F for 30 minutes) to cure the paint if your acrylics are not self-curing. Cool slowly to avoid cracking.
Tips for Success
Work in a dust-free room, use a magnifying lamp for fine details, and always test colors on a hidden part (like the base) first. For chipped porcelain, fill with two-part epoxy putty before priming. Never use oil-based paints—they can react with the glaze.
FAQ
Q: Can I skip priming if I use ceramic paint?
A: No—even ceramic-specific paints struggle on slick bisque. Primer guarantees adhesion and prevents flaking.
Q: How do I fix a mistake after glazing?
A: Wipe off wet glaze with a damp cotton swab. If dry, sand lightly with 600-grit, repaint, and re-glaze only that spot.
Q: Is glossy glaze safe for food-contact figurines?
A: No—only use food-safe ceramic glazes and fire in a kiln. Acrylic glazes are decorative only, so keep figurines away from dishes or utensils.
Leave a Reply