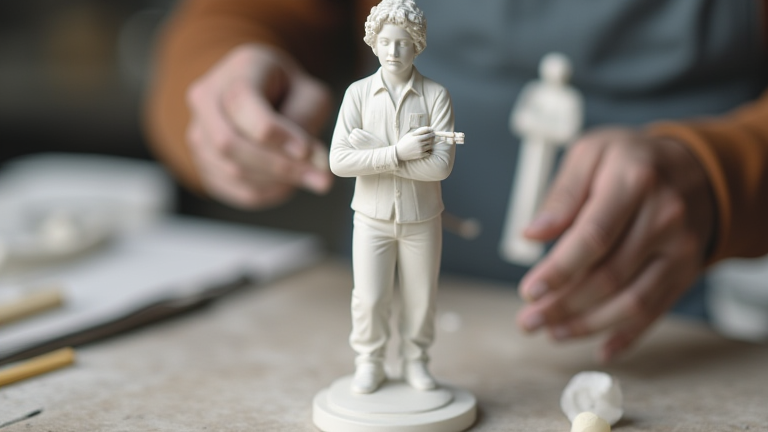
TL;DR: Sculpt porcelain figurines by shaping wet clay over an armature, refining details while leather-hard, then firing and glazing. Master controlled drying and two-stage firing to prevent cracks and achieve a delicate, translucent finish.
How to Sculpt Porcelain Figurines: Step-by-Step Guide
Step 1: Prepare your porcelain body. Use a fine-grit porcelain clay (like cone 6 or 10) and wedge it thoroughly to remove air pockets. Keep it wrapped in damp cloths. For small figurines, work on a plaster bat to absorb excess moisture slowly.
If you want to dig deeper, check out our guide on Timeless Elegance: Styling Porcelain Figurines for Modern Ho.
Step 2: Build a sturdy armature. Porcelain is unforgiving—it slumps easily. Create a wire or wooden armature covered with paper or aluminum foil to reduce clay weight. For a standing figurine, anchor the armature to a wooden base. This internal support prevents sagging in the torso and limbs.
Step 3: Add clay in small, compressed layers. Do not slap on large chunks. Press thumb-sized pieces onto the armature, welding each seam with a wooden rib. Work from the core outward: hips, chest, then head. Keep the overall thickness uniform (5–8 mm) to avoid warping during firing.
Step 4: Refine details at the leather-hard stage. When the clay is firm but still cool to the touch (about 2–3 hours after shaping), carve facial features, folds in clothing, and delicate accessories using loop tools and a needle tool. Smooth surfaces with a soft brush dipped in water—but never over-wet, as porcelain turns to slurry.
Step 5: Dry slowly and completely. Cover the figurine with plastic for 3–5 days, then with a single layer of newspaper for another 2 days. Dry until no cold spot remains on the base. Any trapped moisture will cause a steam explosion in the kiln.
Step 6: Bisque fire to cone 04 (1940°F). Place the figurine on a stilt or kiln shelf with a thin layer of silica sand to allow shrinkage. Cool slowly inside the kiln overnight.
Step 7: Glaze and fire to maturity. Use brush-on underglazes for fine details, then a clear gloss or matte glaze. Fire to your clay’s cone (e.g., cone 6 at 2232°F) with a 15-minute soak. Prop the figurine vertically—never on its side—to prevent glaze pooling in crevices.
FAQ
Q: Why does my porcelain figurine crack at the joints?
A: Joints (arms, ankles) shrink more than the body. Attach limbs while the clay is still soft, score and slip the surfaces, and then wrap the joint with a damp cloth strip to slow drying. Also, hollow out thick areas with a loop tool before drying.
Q: Can I use polymer clay instead of real porcelain?
A: No—polymer clay is not ceramic and won’t vitrify or become translucent. For authentic porcelain figurines, you must use mineral-based porcelain clay and fire it in a kiln. If you lack a kiln, use an air-dry porcelain substitute, but it will not be food-safe or as durable.
Q: How do I prevent glaze from making the face look blurry?
A: Leave the face unglazed (bisque finish) or use a matte glaze. Glossy glazes flow and obscure fine sculpted features. Alternatively, use a wax resist on the face before dipping the rest of the figurine in glaze, then wipe the resist away after firing.
Leave a Reply