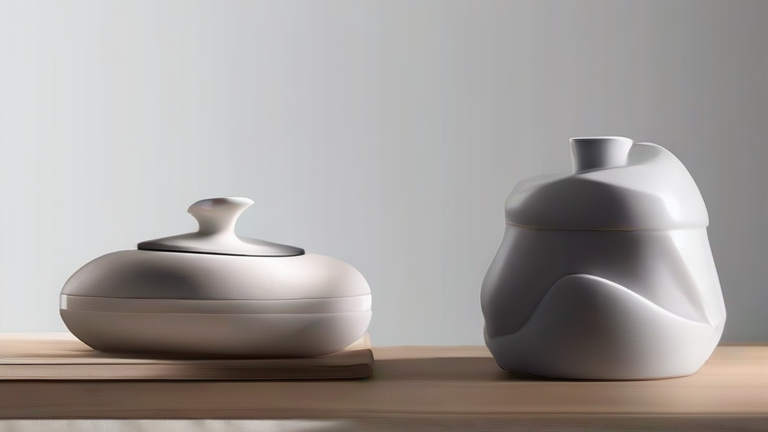
TL;DR: To make porcelain figurines, you must sculpt detailed forms from refined kaolin clay and bisque fire them at high temperatures. The final step involves applying underglaze colors and applying a glaze before a second firing to achieve the characteristic white, translucent finish.
Understanding Porcelain Material
Porcelain is distinct from other ceramic clays due to its high density and low porosity. It is made from kaolin, quartz, and feldspar. This material allows for intricate details that standard stoneware cannot support. Before starting, ensure you have a stable workspace and good lighting. Porcelain is unforgiving; it does not stick to hands as easily as earthenware, requiring a different tactile approach. You will need a set of modeling tools, a smooth slab for rolling, and a clean, damp cloth to keep your work area manageable. Understanding the plasticity of the clay is crucial. If the clay is too wet, the figurine will sag. If it is too dry, it will crack during handling. Aim for a leather-hard consistency for detailed sculpting work.
If you want to dig deeper, check out our guide on Tech Innovations in 3D Printing Porcelain Figurines.
Sculpting the Form
Begin by creating an armature if the figurine is large. Porcelain is heavy when wet, so a wire core provides necessary support. Sculpt the general mass first, focusing on balance and proportion. Use smooth tools to blend large areas before adding fine details. Porcelain holds sharp edges well, which is ideal for clothing folds or facial features. Work slowly, as the clay dries quickly. If you notice hairline cracks, smooth them out immediately with a damp sponge. Do not rush this stage. The value of a porcelain figurine lies in its elegance and precision. Add texture only where necessary, such as for fur or fabric. Keep the surface mostly smooth to prepare for the glazing process later. Allow the piece to dry completely before moving to the next stage. This can take several days depending on humidity.
Bisque Firing
Once the figurine is bone dry, it is ready for the bisque fire. This firing occurs at a temperature of approximately 1000 to 1050 degrees Celsius. The purpose is to burn off organic matter and make the piece porous enough to absorb glaze. Monitor the kiln closely during the first firing. Rapid temperature changes can cause thermal shock, leading to cracking. Let the kiln cool naturally to room temperature. Inspect the bisque ware for any flaws. If the surface feels rough, you may need to sand it lightly with fine-grit sandpaper. This step ensures a flawless foundation for the color application. Handle the bisque pieces with extreme care, as they are still fragile despite being fired.
Glazing and Final Firing
Apply your chosen underglaze colors using fine brushes. Porcelain accepts color beautifully, allowing for subtle shading and depth. Use thin coats to avoid pooling. Once the underglaze is dry, apply a clear glaze. The glaze creates the glassy surface that gives porcelain its signature shine and translucency. Dip the figurine or brush on the glaze, ensuring full coverage. Remove any excess glaze from the base to prevent it from fusing to the kiln shelf. Fire the glazed piece to a higher temperature, around 1300 to 1400 degrees Celsius. This high heat vitrifies the clay and melts the glaze into a seamless finish. Cool the kiln slowly to prevent crazing in the glaze. Once cooled, your porcelain figurine is complete, showcasing the delicate beauty of the craft.
FAQ
Q: Why does my porcelain crack during the initial drying phase?
A: Uneven drying is the primary cause. Ensure the figurine dries in a consistent environment without direct drafts or sunlight. Covering with plastic can help slow the drying process evenly.
Q: Can I use standard ceramic glazes on porcelain figurines?
A: You should use glazes specifically formulated for high-fire porcelain. Standard low-fire glazes will not melt properly or adhere correctly at
Leave a Reply