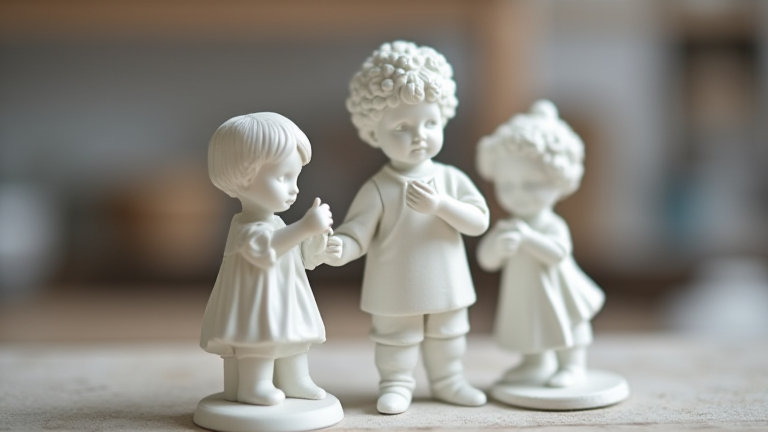
TL;DR: To sculpt porcelain figurines, start with a soft, non-staining clay like porcelain or a porcelain-paperclay blend, then build your form using pinch, coil, and slab techniques before refining details with loop tools and brushes. Finally, dry slowly, bisque fire, glaze, and high-fire to vitrification for that translucent, ceramic finish.
Materials and Preparation
Before you touch clay, gather your essentials: a pound of porcelain clay (pre-mixed, pugged), a rolling pin with ¼-inch guide sticks, a needle tool, a wooden rib, a small sponge, a fine mist spray bottle, and a wire cutter. Porcelain is notoriously finicky—it has low plasticity and dries fast—so keep a damp cloth over your clay at all times. Work on a plaster bat or a canvas-covered board to absorb excess moisture. Wear an apron; porcelain dust is a respiratory hazard, so wet-sand only.
If you want to dig deeper, check out our guide on Elevate Your Home: The Timeless Charm of Porcelain Figurines.
Step 1: Build the Armature and Base
For your first figurine, choose a simple seated animal or a human bust. Roll a coil of clay 1 inch thick for the base and press it into a flat disc, ¼-inch thick, for the feet. If your figurine stands upright, insert a wooden dowel or a wire armature wrapped in newspaper into the base to support the vertical mass—this prevents slumping. Never use metal armature that will rust during firing; use stainless steel or remove it before bisque.
Step 2: Construct the Core Body
Pinch a hollow egg shape for the torso—hollow forms reduce cracking risk. Use your thumb to create a ¼-inch wall thickness, then score and slip (watery clay) the seam where you attach the head and limbs. For limbs, roll tapered coils, bend them gently, and attach by cross-hatching both surfaces with a needle tool. Press firmly but avoid overworking, which causes warping. Keep the entire piece covered with plastic when not sculpting.
Step 3: Refine Surface Details
When the clay is leather-hard (cool and firm, not sticky), carve facial features, fur texture, or folded fabric using a loop tool for hollowing and a needle for fine lines. Use a soft brush dipped in water to smooth seams—never use fingers, as oils create firing flaws. For delicate details like fingers or ears, add tiny coils and blend with a rib. Let the piece dry to bone-dry over 3–5 days under loose plastic, turning it daily to prevent warping.
Step 4: Bisque Fire and Glaze
Fire your bone-dry piece to cone 04 (approx. 1940°F) in a kiln—this makes it porous and strong. After cooling, clean any rough bits with fine sandpaper. Apply 2–3 thin coats of a low-fire glaze using a brush, avoiding pooling in crevices. For a classic porcelain look, use a transparent glossy glaze over underglaze painted details. Let each coat dry completely.
Step 5: High-Fire to Vitrification
Place the glazed figurine on a kiln shelf with a stilts or a thin layer of kiln wash. Fire to cone 6 (approx. 2232°F) for true porcelain translucency. Cool slowly—opening the kiln above 200°F causes thermal shock. Your finished figurine will be glass-hard, non-porous, and slightly translucent when held to light.
Pro Tips for Success
Always keep a spray bottle handy to mist edges before joining. If a part cracks during drying, fill with paperclay slip and re-smooth. And remember: porcelain shrinks ~15% from wet to fired, so sculpt 15% larger than your desired final size. Practice on small ornaments before tackling a full figure.
FAQ
Q: Can I use air-dry porcelain clay instead of kiln-fired clay?
A: Yes
Leave a Reply