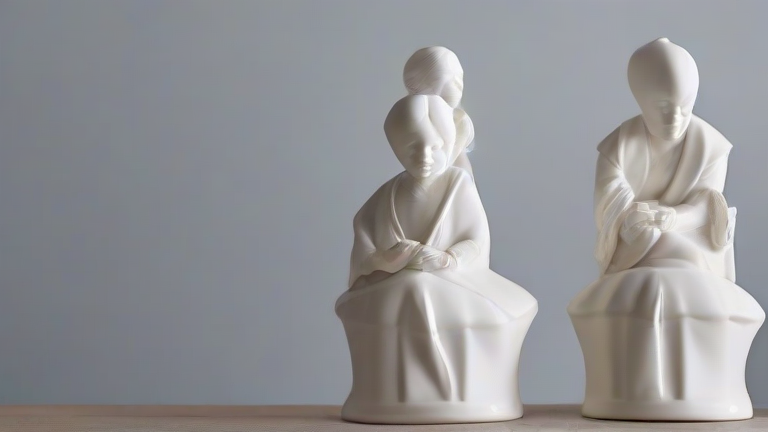
TL;DR: To make porcelain figurines, you shape wet porcelain clay by hand or with molds, let it dry to leather-hard, then refine details and assemble parts. Finally, you bisque-fire, glaze, and high-fire the piece to achieve its translucent, durable finish.
How to Make Porcelain Figurines: Step-by-Step Sculpting
Step 1: Prepare your clay and workspace. Use a fine-grained porcelain body (like cone 6 or 10). Wedge the clay thoroughly to remove air bubbles—any trapped air will explode in the kiln. Keep a spray bottle, a wire cutter, and a wooden board nearby. Cover your clay with damp cloths to prevent it from drying out while you work.
If you want to dig deeper, check out our guide on How to Care for Porcelain Figurines: A Complete Restoration .
Step 2: Build the armature (for complex poses). For figurines with outstretched limbs or dynamic angles, create a wire armature wrapped in newspaper or aluminum foil. This supports the clay and reduces warping. Never leave the armature inside the final piece—remove it before firing, or use a burnout wire that dissolves in the kiln.
Step 3: Sculpt the core shapes. Start with the torso, head, and limbs as separate solid masses. Use your fingers to pinch and roll clay, then attach parts with slip (a thick clay-water paste). Score both surfaces with a needle tool before joining—this is non-negotiable for a strong bond. Keep the overall thickness under 1 cm to prevent cracking during drying.
Step 4: Refine details at leather-hard stage. Once the clay is firm but still slightly cool to the touch (about 2–3 hours of air drying), carve facial features, drapery folds, and textures using loop tools, a rib, and a fine-point brush. Use a soft brush to smooth seams. For symmetrical items like faces or wings, use calipers to measure and adjust.
Step 5: Dry slowly and assemble. Let the figurine dry under plastic wrap for 3–5 days. When completely bone-dry (no cold spots on the surface), attach any separately sculpted parts (hands, accessories) using thick slip, then re-dry for another 24 hours. Sand any rough edges with fine-grit sponge.
Step 6: Bisque fire, glaze, and high fire. Fire to bisque (around 900°C/1650°F) to harden the clay. After cooling, apply 2–3 thin layers of porcelain-friendly glaze, leaving the bottom unglazed. Then high-fire to your clay’s maturation temperature (typically 1220–1280°C). Let the kiln cool slowly to avoid dunting (thermal shock).
Pro tips: Work in a humid room to slow drying. Use a toothpick to create tiny holes for firing gases to escape. For glossy translucent figurines, apply a thin celadon or clear glaze—this enhances the porcelain’s natural luminosity.
FAQ
Q: Can I use air-dry clay instead of real porcelain?
A: No—air-dry clay lacks the vitrification and translucency of porcelain. You must use a ceramic porcelain body and fire it in a kiln to achieve authentic figurine quality.
Q: Why does my figurine crack during drying?
A: Cracks usually come from uneven thickness or fast drying. Keep walls uniform (max 1 cm thick), cover with plastic for the first 48 hours, and dry in a draft-free, cool area.
Q: How do I attach delicate parts like fingers or flower petals without breaking them?
A: Sculpt those parts separately, let them dry to leather-hard, then use a needle tool to score both surfaces and join with thick slip. Support the joint with a small coil of clay on the inside, and let the piece rest for 24 hours before moving it.
Leave a Reply