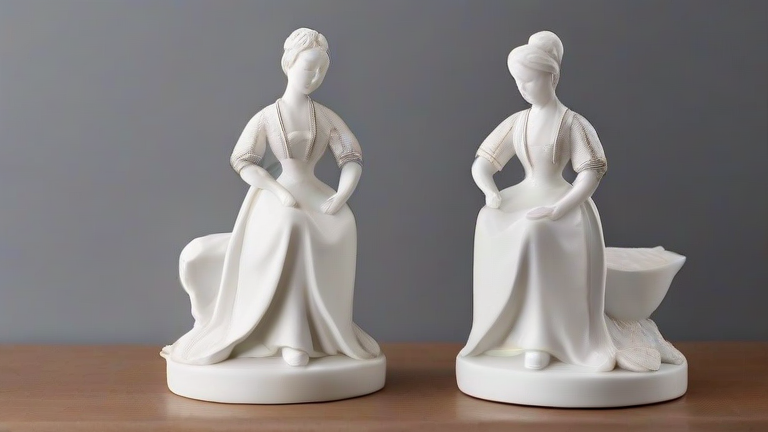
TL;DR: Create porcelain figurines by carving a wax master to produce a mold, then casting fine porcelain slip into that mold. After demolding and trimming, bisque fire the piece, apply glazes, and perform a final high-temperature glaze firing to achieve the signature translucent finish.
Preparation and Materials
Before beginning, ensure your workspace is well-ventilated and equipped with safety gear, including a dust mask and goggles. You will need high-quality porcelain clay, which is known for its white color and translucency when fired. Essential tools include a wax carving kit, a plaster mold making kit, a vacuum degasser for the slip, and a high-temperature kiln capable of reaching cone 10 temperatures. Porcelain is unforgiving compared to stoneware, so patience and precision are critical from the start.
If you want to dig deeper, check out our guide on Investing in Porcelain: Top Figurines for Your Collection.
Creating the Master Pattern
The first step in making porcelain figurines involves sculpting a master model. For beginners, carving a wax master is recommended because it allows for easy corrections. Use a hard wax that withstands heat without melting too quickly. Carve your figurine with intricate details, keeping in mind that sharp edges may not transfer perfectly to the mold. Smooth the surface thoroughly, as any imperfections in the wax will be replicated in the final porcelain product. Once satisfied with the design, prepare the wax master for molding by applying a release agent to prevent the plaster from sticking.
Molding and Casting
Construct a two-part plaster mold around the wax master. Plaster of Paris is ideal for this process due to its high porosity, which draws water from the slip and allows the mold to dry quickly. Once the mold is set, remove the wax master by heating it gently. Mix your porcelain slip to the consistency of heavy cream. Vacuum degas the slip to remove air bubbles, which can cause pinholes in the final figurine. Pour the slip into the plaster mold, tapping it gently to ensure it fills all details. After a few hours, when the slip has set but is still soft, pour out the excess liquid. Allow the mold to dry completely before demolding.
Trimming and Bisque Firing
Carefully open the mold and remove the wet porcelain figurine. It is now in a leather-hard state, perfect for trimming. Use a needle tool to remove any flash or excess clay from the seams. Add any final details or texture if necessary. Let the figurine dry slowly to prevent cracking. Once bone-dry, place the piece in the kiln for a bisque firing at approximately 1000 degrees Celsius. This initial firing hardens the clay, making it porous enough to absorb glaze but still fragile enough to handle with care.
Glazing and Final Firing
Apply your chosen glazes using a brush or dipping method. Porcelain figurines often benefit from transparent or matte glazes that highlight the white body of the clay. Avoid thick applications of glaze, as this can cause crawling or pinholes. Ensure the feet of the figurine are glazed with a wax resist to prevent it from sticking to the kiln shelf. Load the kiln carefully and fire to a glaze temperature of around 1300 degrees Celsius. This high heat vitrifies the porcelain, creating a glass-like surface that is durable and beautiful. Allow the kiln to cool completely before removing your finished porcelain sculpture.
FAQ
Q: Why is my porcelain figurine cracking during drying?
A: Cracking usually occurs due to uneven drying or rapid moisture loss. Ensure the piece dries slowly in a humid environment and avoid drafts. Trimming too thick sections can also create stress points that lead to cracks.
Q: What temperature is required for the final glaze firing?
A: The final glaze firing for porcelain typically requires a temperature between 1280 and 1320 degrees Celsius, depending on the specific glaze formulation and desired translucency effect.
Q: Can
Leave a Reply