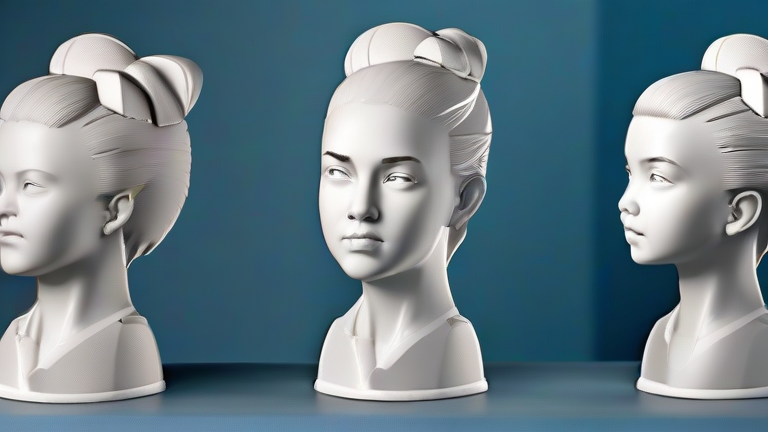
TL;DR: Create porcelain figurines by shaping wet clay over an armature, letting it dry to leather-hard, then refining details before bisque firing. After the first firing, glaze and fire again to vitrify the porcelain into a translucent, durable sculpture.
Step 1: Prepare Your Porcelain Clay and Armature
Use a fine-grained porcelain body (like cone 6 or 10) and wedge it thoroughly to remove air bubbles. For any figure taller than 4 inches, build a simple wire armature wrapped in newspaper or foil to support the clay. This prevents slumping during sculpting. Keep a spray bottle of water nearby—porcelain dries fast and cracks easily.
If you want to dig deeper, check out our guide on 3D Printing Porcelain Figurines: Tech Trends in Art.
Step 2: Build the Core Mass
Press small, walnut-sized balls of clay onto the armature, starting from the base and working upward. Avoid adding large chunks—porcelain has low plasticity and will tear. Compress each addition with your thumb to eliminate seams. For a hollow figurine, use the pinch-pot method: form a thick-walled cylinder, then pinch out the torso and head. Leave a small vent hole at the base for steam release during firing.
Step 3: Sculpt the Details at Leather-Hard Stage
Wait 2–4 hours until the clay is firm but not brittle (like hard cheese). Now carve facial features, folds in clothing, or floral accents using fine loop tools and a needle tool. Smooth surfaces with a soft rubber rib dipped in water. For delicate parts (fingers, flower petals), attach them with slip (a thick mixture of clay and water) and score both contact points. Support protruding elements with rolled paper props until dry.
Step 4: Dry and Bisque Fire
Dry the figurine slowly under plastic wrap for 3–5 days, then uncovered for 2 days. Any moisture left causes explosions in the kiln. Fire to bisque at cone 04 (1940°F) to harden the piece without vitrifying it. Once cool, sand any rough edges with fine grit.
Step 5: Glaze and Final Fire
Apply 2–3 thin coats of porcelain-compatible glaze using a brush or spray, leaving the base unglazed to avoid sticking to the kiln shelf. For a classic translucent look, use a clear gloss glaze over underglaze paints. Fire to cone 6 (2232°F) for true vitrification—the piece will shrink ~12–15%, so design with that in mind. Cool slowly to prevent crazing.
Tips for Success
Work in a humid environment or cover unused clay with damp cloths. Always test-fire a small sample with your exact glaze and clay combo. For intricate sculptures, fire on a bed of silica sand to support warping-prone areas.
FAQ
Q: Can I use air-dry clay instead of real porcelain?
A: No—air-dry clay won’t vitrify or become translucent. Only true porcelain (kaolin-based) fired above 2200°F yields the characteristic glass-like finish.
Q: Why did my figurine crack during drying?
A: Cracks usually come from uneven drying or joining parts with too-dry slip. Dry slowly under plastic, and always score-and-slip while the clay is still moist.
Q: How do I fix a broken porcelain figurine after firing?
A: For non-food pieces, use two-part epoxy or ceramic repair adhesive. For a seamless look, mix the adhesive with porcelain dust from sanding, then re-glaze and re-fire only if the piece is structurally sound.
Leave a Reply