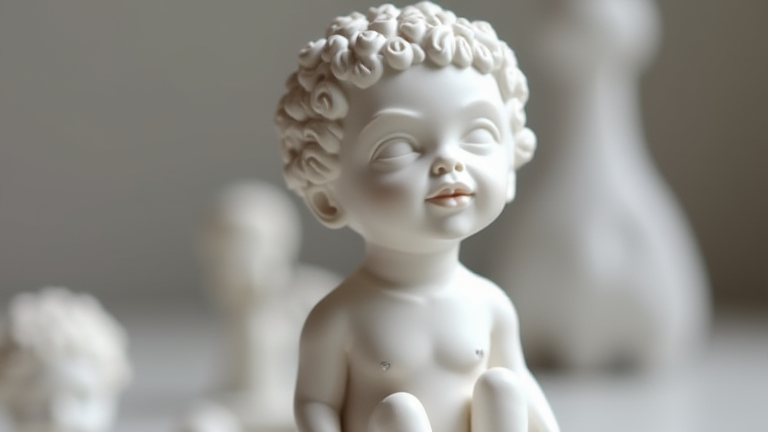
Porcelain Figurine Tutorial: Step-by-Step Sculpting Guide
TL;DR: To create a detailed porcelain figurine, you must master the precise handling of high-fire white clay through careful wedging, incremental sculpting, and controlled drying. Success relies on maintaining consistent moisture levels to prevent warping while achieving the smooth, translucent finish characteristic of fine porcelain.
Preparing Your Workspace and Materials
Begin by selecting a high-quality porcelain clay body, such as Limoges or similar high-fire white clay, which offers superior translucency and strength. Wedge your clay thoroughly to remove all air bubbles, as trapped air is the primary cause of explosions during the bisque firing. Prepare your workspace with a non-porous surface covered in plastic to prevent sticking. Gather essential tools including sculpting loops, needle tools, wooden modeling tools, and fine-grit sandpaper. Ensure your workspace is well-ventilated, as porcelain dust can be hazardous if inhaled over long periods. Keep a sponge and a bowl of water nearby to manage moisture levels consistently throughout the sculpting process.
If you want to dig deeper, check out our guide on 3D Printing Porcelain Sculptures: Modern Tech Meets Classica.
Sculpting the Base and Form
Start with a small ball of clay, roughly the size of a golf ball, and center it firmly on a tile. Build the basic mass of the figurine by adding small, wedge-shaped pieces of clay to define the torso, head, and limbs. Use wooden tools to blend these additions seamlessly into the main body, avoiding hard edges that will be difficult to refine later. Focus on establishing the correct proportions before adding any fine details. The figure should stand on a stable base; ensure the weight is distributed evenly to prevent tipping during handling. Check your work against a reference image or sketch frequently to maintain accuracy. If the piece feels too heavy, consider hollowing out the interior slightly to reduce overall weight and potential stress points.
Refining Details and Surface Finishing
Once the general form is established, begin refining the surface texture. Porcelain is unforgiving, so use a damp sponge to smooth out any rough patches or tool marks. For facial features and intricate clothing details, use fine metal loop tools to carve out eyes, nose, and mouth features. Be gentle and precise; porcelain is softer than stoneware and can tear easily if handled too aggressively. After sculpting, allow the piece to dry slowly under a loose plastic cover to prevent uneven shrinkage. Once leather-hard, trim any excess clay from the base and apply a thin layer of slip to fill in minor pores or scratches. This slip layer helps create a uniform surface for the final glazing.
Firing and Glazing Considerations
Let the figurine dry completely, which may take several days depending on humidity. Fire the greenware to a biscuit temperature, typically around 1000 degrees Celsius, to harden the clay structure. After the bisque firing, clean the piece of any dust and apply a thin, even coat of clear or white glaze. Porcelain glazes are highly reflective, so avoid thick applications that can run or pool. Fire the glazed piece to its final cone, usually between 12 and 13, to achieve full vitrification. This high temperature makes the porcelain durable and gives it that signature bright, white appearance. Handle the finished piece with care, as while strong, porcelain remains brittle compared to other ceramic types.
FAQ
Q: Why does my porcelain figurine crack during drying?
A: Cracking is usually caused by uneven drying or trapped air bubbles. Ensure you wedge the clay thoroughly and cover the piece loosely with plastic to slow down the evaporation rate, allowing it to dry uniformly.
Q: What is the best tool for adding fine details?
A: Fine metal loop tools and needle tools are ideal for intricate details. For blending, use damp wooden modeling tools to smooth the surface without leaving visible scratches that are hard to remove in porcelain.
Q: Can I paint details on a finished porcelain figurine?
A: Yes, you can apply under
Leave a Reply