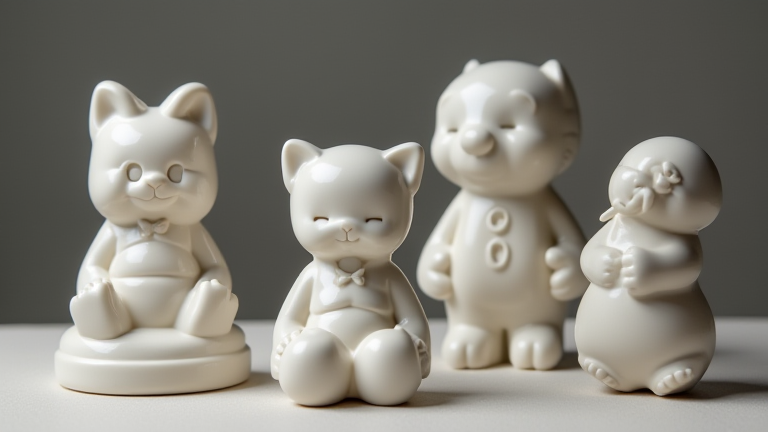
TL;DR: To make porcelain figurines, shape wet porcelain clay by hand or with molds, then let it dry to leather-hard for carving, and finally bisque-fire it before glazing and a high-temperature glaze fire. Master the three stages—plastic, leather-hard, and bone-dry—to avoid cracks and achieve delicate, translucent details.
Materials & Preparation
Gather porcelain clay (not stoneware—it’s whiter and more translucent), a wire cutter, sculpting loop tools, a sponge, a fine mist spray bottle, and a kiln capable of reaching cone 6 (about 2232°F). Wedge the clay thoroughly to remove air pockets; any trapped air will explode in the kiln. Keep the clay covered with damp cloths, as porcelain dries faster than other clays.
If you want to dig deeper, check out our guide on Top 10 Viral TikTok Shop Gadgets Driving Sales Right Now.
Step 1: Build the Armature (Optional but Recommended)
For figurines with limbs or tall proportions, create a simple armature from stiff wire and aluminum foil. This supports the clay during sculpting and reduces sagging. Cover the armature with a thin layer of clay, pressing firmly to eliminate air gaps. For solid figures, skip the armature but keep the mass under 1 inch thick—porcelain warps easily if too thick.
Step 2: Sculpt in the Plastic Stage
Start with a single lump for the torso, then add coils for arms and legs. Use your thumbs to push clay from the inside outward, building volume. Work quickly but deliberately—porcelain has low plasticity and tears if overworked. Keep a spray bottle handy; mist the clay lightly every 10 minutes to prevent cracking. For faces, use a needle tool to define eyes and mouth; avoid pressing too deep, as porcelain shrinks ~12-15% during firing.
Step 3: Refine at Leather-Hard Stage
When the clay is firm but still cool to the touch (like hard cheese), carve details: folds in clothing, hair texture, and delicate lace-like edges. Use loop tools to hollow out the base or underside to ensure even wall thickness. Sand with a fine sponge or 220-grit sandpaper to smooth joints. Let the piece dry slowly under plastic for 3–5 days until bone-dry—no cold spots on the surface.
Step 4: Bisque Fire & Glaze
Fire the piece to cone 06 (about 1830°F) for bisque. After cooling, clean off any dust with a damp sponge. Apply 2–3 thin coats of porcelain glaze (matte or glossy) using a soft brush, avoiding pooling in crevices. For custom colors, use underglazes before clear glaze. Finally, fire to cone 6 for vitrification—the clay becomes glass-like and translucent.
Step 5: Final Finishing
Once cooled, polish any rough spots with a diamond file. If you want a gold or platinum accent, apply overglaze luster and fire again to cone 018. Display your figurine away from direct sunlight to prevent glaze fading.
FAQ
Q: Why does my porcelain figurine crack during drying?
A: Cracks occur from uneven drying or too-thick sections. Dry under a plastic sheet with a small opening for airflow, and hollow out thick areas (like the head) before drying.
Q: Can I use air-dry clay instead of kiln-fired porcelain?
A: No—air-dry clay lacks the vitrification and translucency of true porcelain. For authentic porcelain figurines, you must fire in a kiln at cone 6 or higher.
Q: How do I fix a broken porcelain limb before firing?
A: If leather-hard, score both broken edges, wet with vinegar, and press a small coil of fresh clay over the joint. If bone-dry, use slip mixed with a bit of vinegar—but fire immediately, as the repair is fragile.
Leave a Reply