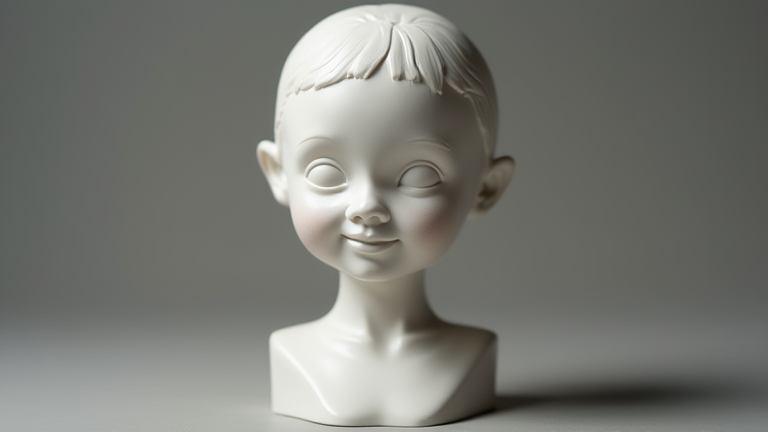
Porcelain Figurine Tutorial: Step-by-Step Sculpting Guide
TL;DR: To sculpt a porcelain figurine, you must build up layers of high-quality porcelain clay using a solid armature to support the weight and prevent sagging. The process involves shaping the base form, adding intricate surface details, and finally bisque firing and glazing the piece to achieve a durable, glossy finish.
Materials and Preparation
Before beginning, gather your essential tools: high-plasticity porcelain clay, steel wire or a wooden dowel for the armature, a variety of sculpting tools (loop tools, rib tools, and needles), a flexible cutting mat, and a clean workspace. Porcelain is notoriously delicate and prone to cracking during drying, so ensuring your environment is free from drafts is critical. Start by wedging your clay thoroughly to remove air bubbles, which are the primary cause of explosions in the kiln. Knead the clay until it achieves a uniform consistency and a smooth, plastic texture. This foundational step ensures that the material behaves predictably during the sculpting phase and minimizes the risk of structural failure later in the process.
If you want to dig deeper, check out our guide on Porcelain Figurines: Timeless Art for Your Modern Home.
Constructing the Armature
Porcelain has a high water content and becomes heavy as it dries. Unlike softer earthenware, it cannot support its own weight without internal reinforcement. Begin by creating a sturdy internal skeleton. Use steel wire or a wooden dowel as the central spine, securing it firmly into a heavy base or a block of dried clay. The armature should extend to the highest point of your intended figurine. This internal structure will bear the load of the wet clay, preventing the figure from collapsing or deforming. Ensure that all metal components are fully covered by clay to avoid any contact with the kiln elements during firing, which could cause damage or contamination.
Building the Form
Start attaching large slabs or coils of porcelain clay to the armature to establish the primary volume of the figure. Use slip and score the surfaces to ensure a strong bond between the new clay and the existing structure. Work in manageable sections, allowing the lower parts to stiffen slightly before adding significant weight above them. This gradual approach prevents the lower layers from sliding down the armature. Use rib tools to smooth the initial forms, blending the seams where new clay meets the old. At this stage, focus on the overall silhouette and proportion rather than minute details. A well-proportioned base form is easier to refine than a poorly shaped one, so take your time to check the balance and alignment from multiple angles.
Adding Details and Refinement
Once the general shape is established and has dried to a leather-hard consistency, you can begin adding intricate details. Use fine needle tools and loop tools to carve out features such as facial expressions, clothing textures, or decorative patterns. Porcelain dries quickly, so work in small areas to prevent the clay from becoming too stiff to manipulate. If you need to add small, delicate elements like fingers or ears, attach them separately using slip and score them into place. Smooth all transitions with a damp sponge or a rib tool to create a seamless surface. Check for any hairline cracks and repair them immediately by pressing in a small piece of clay and smoothing it over. This step is crucial, as unaddressed cracks will widen during the drying process and ruin the piece.
Drying, Firing, and Glazing
Allow the figurine to dry slowly and evenly. Cover it loosely with plastic to prevent rapid moisture loss, which causes cracking. The piece is ready for the first firing when it is bone dry and turns a light gray color. Bisque fire the piece at a low temperature to make it porous but not yet glazed. After bisque firing, you can apply your chosen glaze. Dip, brush, or pour the glaze according to the manufacturer’s instructions. Ensure the foot of the figurine is glazed or use a kiln wash to prevent it from sticking to the kiln shelf. Fire the piece to the recommended temperature for your specific glaze and porcelain body. The final result will be a durable, vitrified porcelain figurine with a beautiful,
Leave a Reply