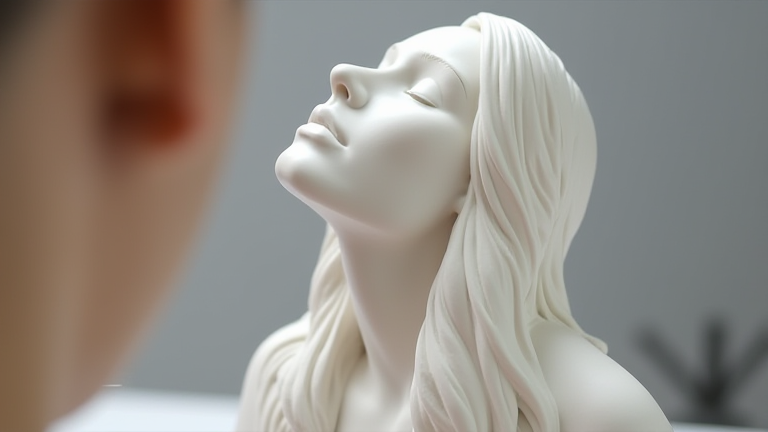
TL;DR: Master porcelain figurine sculpting by learning to condition clay properly and use layered build-up techniques for structural integrity. Focus on smooth blending and precise detailing to achieve the characteristic finesse required for high-quality porcelain pieces.
Understanding Porcelain Clay
Before beginning, ensure you are using high-quality porcelain clay, which is finer and less plastic than stoneware. This material is essential for capturing delicate details without cracking during the drying process. Porcelain clay is known for its translucency when thin and its smooth surface finish, making it ideal for figurines. However, it is also more brittle and prone to warping if not handled with care. Beginners should start with smaller projects to understand the material’s unique behavior before attempting larger, more complex sculptures.
If you want to dig deeper, check out our guide on Why the Cold Brew Trend Is Driving Specialty Coffee Sales.
Preparation and Conditioning
Proper conditioning is critical. Knead the clay thoroughly to remove air bubbles and achieve a uniform consistency. Air bubbles can cause explosive cracks during firing, ruining your work. Roll the clay into a ball and press it repeatedly until it feels smooth and pliable. If the clay feels too dry, mist it lightly with water and continue kneading. If it is too sticky, add a small amount of dry powder. The goal is a dough-like consistency that holds its shape but remains malleable for sculpting.
Building the Base Structure
Start with a solid armature or a solid core if the figurine is large. For smaller pieces, you can build directly on a plaster slab or a non-stick surface. Begin by sculpting the rough masses of the body, head, and limbs. Use a wooden modeling tool to rough out the general shapes. Do not worry about fine details at this stage. Focus on proportions and balance. Ensure the center of gravity is stable to prevent the figurine from tipping over. Connect all parts securely, blending them with a bit of slip if necessary to ensure they fuse properly during the firing process.
Refining and Detailing
Once the basic form is established, begin refining the surfaces. Use a metal rib to smooth out the curves of the body. This step is crucial for achieving the glossy, seamless look associated with porcelain. For facial features and clothing textures, use small, fine-tipped tools. Carve out eyes, noses, and mouths with gentle, precise movements. Avoid applying too much pressure, as porcelain clay is delicate. Add texture for hair or fabric by dragging a toothpick or a stiff brush over the surface. Blend any tool marks smoothly to maintain a professional finish. Remember that less is often more in porcelain sculpture; subtle details are more effective than exaggerated ones.
Drying and Firing Tips
Allow the figurine to dry slowly and evenly. Cover it with a plastic bag, leaving a small gap for air circulation. Rapid drying causes shrinkage cracks, which are difficult to repair. Once bone dry, fire the piece in a kiln. Porcelain requires high temperatures to achieve its vitrified, glass-like quality. Follow your specific clay manufacturer’s firing schedule to avoid thermal shock. Glaze the finished piece to enhance its color and protect the surface.
FAQ
Q: Can I sculpt porcelain figurines if I only have a home kiln?
A: Yes, but ensure your kiln can reach the specific cone temperature required for your porcelain clay, typically around cone 10, as lower temperatures may result in a porous, unvitrified body.
Q: What is the best tool for smoothing porcelain surfaces?
A: A flexible metal rib is the best tool for smoothing large surfaces, while a damp sponge can be used for final touch-ups to remove minor tool marks before the clay skins over.
Q: How do I prevent my porcelain figurine from cracking while drying?
A: Prevent cracking by drying the piece slowly in a humid environment, such as inside a plastic bag with a small opening, to ensure even moisture loss from the interior to the exterior.
Leave a Reply