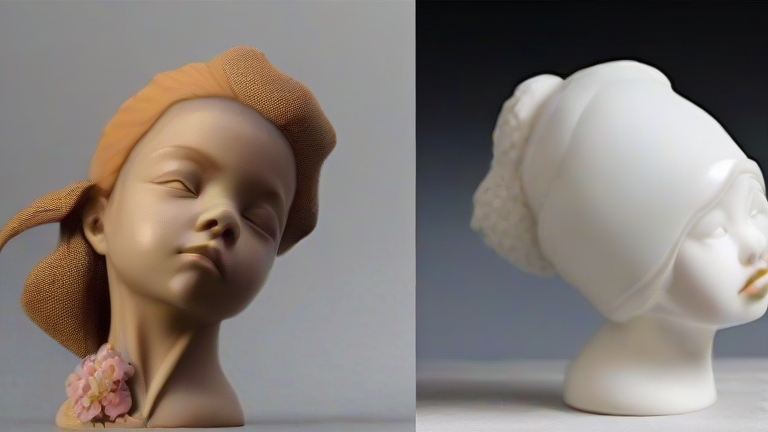
Porcelain Figurine Tutorial: Sculpt & Glaze Your First Statue
TL;DR: To sculpt your first porcelain figurine, start with a firm clay base, build up the form using sculpting tools, and bisque fire it before applying a thin, even layer of glaze. This process ensures structural integrity and a smooth, durable finish for your artistic creation.
Materials Needed
Before you begin, gather the essential tools for working with porcelain. You will need high-quality porcelain clay, which is finer and more plastic than standard stoneware. Acquire a set of metal sculpting tools, including ribbons, loops, and needles for detailing. You will also require a wire for cutting, a sponge for smoothing, and a clean workspace. For the glazing stage, ensure you have a specific porcelain glaze compatible with your kiln’s firing temperature. A brush set with various bristle types is crucial for achieving detailed coverage without streaks. Finally, ensure you have access to a kiln capable of reaching high temperatures, as porcelain requires a much hotter firing than other clays to achieve its signature translucency and strength.
If you want to dig deeper, check out our guide on Are Porcelain Figurines Toxic? Safe Handling & Health Tips.
Sculpting the Figurine
Begin by conditioning your porcelain clay to ensure it is uniform in moisture content. Knead it thoroughly to remove air bubbles, which can cause explosions during firing. Start with a rough armature or a solid block of clay to establish the basic proportions of your figurine. Use your larger sculpting tools to define the major planes of the body, head, and limbs. Keep in mind that porcelain is delicate when wet, so support the piece with a sturdy wire armature if it is tall or top-heavy. Build up the clay in layers, allowing each section to firm up slightly before adding more weight. Use the needle tool to carve out facial features and intricate details, such as hair texture or clothing folds. Smooth the surface with a damp sponge, but avoid over-wetting the clay, as this can weaken the structure. Once satisfied with the form, allow the figurine to dry completely to the leather-hard stage. This takes several days, and you must monitor it closely to prevent cracking. If cracks appear, repair them by brushing on slip and pressing the pieces back together. Ensure the piece is bone dry before moving to the firing stage. Any remaining moisture will turn to steam and shatter the delicate porcelain structure.
Bisque Firing and Glazing
Place your bone-dry figurine in the kiln for a bisque firing. This low-temperature firing removes remaining chemical water and makes the clay porous, ready to absorb the glaze. After the kiln cools, clean the figurine of any dust using a dry brush. Mix your glaze to a creamy consistency, similar to heavy cream. Dip or brush the glaze onto the figurine in thin, even coats. Avoid pooling the glaze in recessed areas, as this can cause cracking or running. Pay special attention to the edges and tips, which are prone to chipping. Let the glazed piece dry completely before the final firing. The final firing is a high-temperature process that vitrifies the porcelain, making it waterproof and glass-like. This step requires patience and precise temperature control. Once cooled, inspect your figurine for any flaws. If successful, you have created a durable, elegant porcelain statue ready for display.
FAQ
Q: Why is porcelain harder to work with than regular clay?
A: Porcelain has very low plasticity and high shrinkage rates, making it prone to cracking if not handled with extreme care during the drying and firing stages.
Q: Can I use air-dry clay for this tutorial?
A: No, air-dry clay does not achieve the vitrification required for true porcelain, resulting in a weaker, less durable, and non-translucent final product.
Q: What temperature is required for the final glaze firing?
A: Porcelain typically requires a high-temperature firing, usually between cone 10 and cone 12, which translates to
Leave a Reply