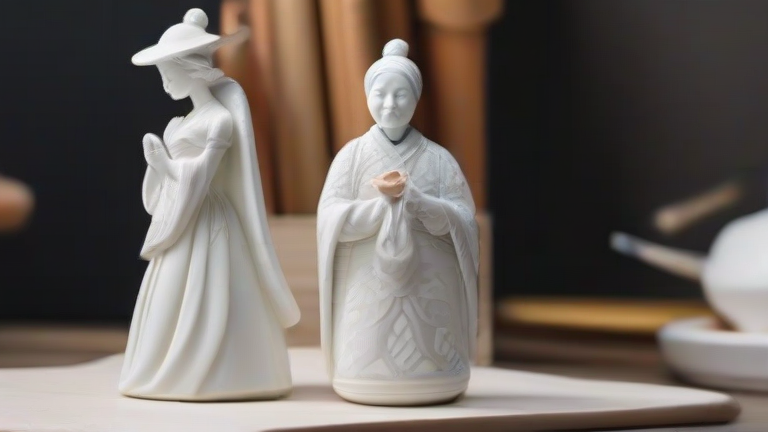
TL;DR: Carving porcelain figurines requires selecting high-fired, vitreous clay and using diamond-tipped rotary tools to remove material safely without shattering the piece. Mastering the progression from coarse shaping to fine detailing ensures a durable, polished sculpture ready for glazing.
Understanding the Material
Porcelain is distinct from other clays due to its high firing temperature and vitreous nature. It is harder and less forgiving than earthenware or stoneware. Before you begin, ensure your figurine is fully fired to its final hardness. Greenware or bisque-fired porcelain is too soft for traditional carving and will crumble. You need a finished, glazed, or unglazed high-fired piece. If you are working with unglazed bisque, understand that it is technically ceramic, but true porcelain carving involves removing material from a dense, glass-like substrate. This process is subtractive, meaning you cannot add material back once it is removed. Patience is the single most important skill you will need. The material is unforgiving, and a single slip of the tool can destroy hours of work. Start with simple shapes to understand how the porcelain resists the cutting tool. The density of porcelain means it generates significant heat during friction. This heat can cause thermal shock, leading to cracks. Therefore, continuous motion and proper tool selection are critical to maintaining the integrity of your figurine.
If you want to dig deeper, check out our guide on Top Porcelain Figurines: Best Sculptures for Your Collection.
Gathering Your Tools
You will need a variable-speed rotary tool, such as a Dremel, equipped with diamond-coated burs. Standard metal or carbide bits will dull quickly and risk chipping the porcelain. Diamond bits cut by abrasion, which is gentler on the glassy surface. Start with a coarse-grit diamond bit for removing large amounts of material and shaping the basic form. Move to medium grit for refining the shape and smoothing surfaces. Finally, use fine-grit bits for intricate details, such as facial features or floral patterns. Also, have a set of sanding sponges with varying grits, from 220 to 1000, ready for final smoothing. A good air compressor or compressed air duster is essential to keep dust away from your eyes and lungs. Porcelain dust is fine and potentially hazardous if inhaled. Wear a proper N95 mask or a respirator with P100 filters. Safety glasses are non-negotiable to protect your eyes from flying particles. Work on a stable surface, preferably a thick piece of plywood to dampen vibrations. Vibration can cause the bit to chatter, which leads to uneven cuts and potential breakage.
Step-by-Step Carving Process
First, sketch your design directly onto the figurine using a soft pencil or a marker that can be washed off later. This serves as your guide for where to remove material. Secure the figurine firmly in a vise or a dedicated holding block. Do not hold it by hand, as the torque from the rotary tool can twist the piece and cause it to snap. Start with the coarsest bit and the lowest speed setting. Your goal is to remove excess material to match your sketch. Keep the tool moving in small, circular motions to prevent heat buildup. If you feel resistance, ease up on the pressure. Let the diamond grit do the work. Pushing too hard is the primary cause of cracks in porcelain. Once the basic shape is close to your design, switch to a medium-grit bit. This stage is about refining the contours. Smooth out any rough edges left by the coarse bit. Check your work frequently by wiping away dust. The dust can obscure your progress and make it difficult to see subtle changes in the surface. As you approach the final shape, switch to a fine-grit bit. This is where the detail work happens. Be extremely careful around thin areas, such as ears, fingers, or delicate floral elements. These areas are prone to breaking. Use very light pressure and slow, deliberate movements. If you hear a crackling sound, stop immediately. This indicates stress in the material. Let the piece rest for a moment before resuming. After carving is complete, use the sanding sponges to smooth the surface. Start with 220 grit and work your
Leave a Reply