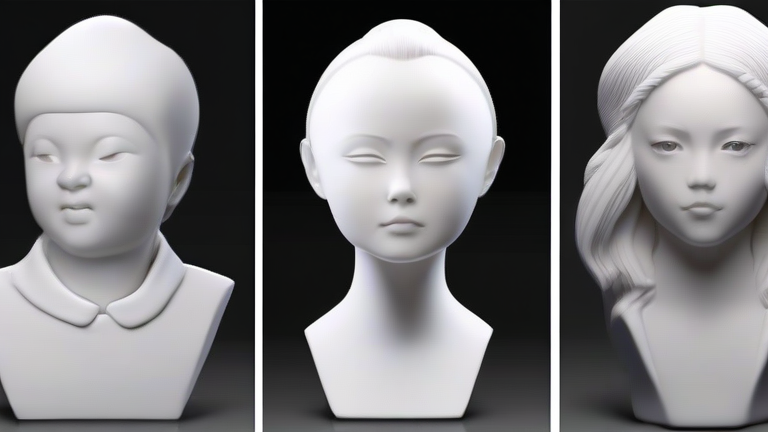
TL;DR: Sculpting porcelain figurines requires building a wire armature, layering wet porcelain clay, and refining details with silicone tools before bisque firing. Master slow drying and glaze application to prevent cracks and achieve a translucent, glass-like finish.
Materials & Preparation
Gather porcelain clay (not stoneware—porcelain is finer and more translucent), a wire armature (aluminum or copper), sculpting loops, ribs, a sponge, a spray bottle, and a fettling knife. Keep clay wrapped in damp cloths; porcelain dries fast and cracks easily. Work on a plaster bat to wick moisture evenly.
If you want to dig deeper, check out our guide on Why the Cold Brew Trend Is Driving Specialty Coffee Sales.
Step 1: Build the Armature
Shape a simple wire skeleton—head, torso, limbs—with proportions 6–7 heads tall for elegant figurines. Leave 1 cm of wire exposed at the base for mounting. Wrap the armature in thin strips of newspaper or masking tape to give clay grip and reduce weight.
Step 2: Apply the First Clay Layer
Roll out porcelain to 5 mm thickness. Press slabs onto the armature, starting from the core outward. Avoid trapping air—poke tiny vents with a needle tool. Build the mass roughly, leaving 3 mm of extra clay for carving. Keep the surface damp with a fine mist, never soaking.
Step 3: Define the Form
Once the clay is leather-hard (firm but not dry), use wire loops to carve the silhouette. Shape facial features with a needle tool—eyes as almond slits, lips as subtle rolls. For flowing skirts or robes, add thin coils and blend with a soft rib. Work symmetrically, turning the piece constantly.
Step 4: Refine and Smooth
Use silicone-tip tools to blend seams and soften edges. Sponge with a damp, wrung-out sponge to remove tool marks—but do this sparingly, as over-wetting creates slurry that weakens detail. For delicate lace or floral accents, apply extra-thin clay slips (porcelain mixed with water to a toothpaste consistency) with a fine brush.
Step 5: Dry and Bisque Fire
Dry the figurine slowly under a loose plastic tent for 5–7 days. Turn it daily to prevent warping. Then bisque fire to cone 04 (1940°F) in a kiln. Cool completely before handling—porcelain is brittle at this stage.
Step 6: Glaze and Final Fire
Apply a clear or pastel glaze in 2–3 thin coats with a soft brush, avoiding pooling in crevices. Wipe the base clean of glaze. Fire to cone 6 (2232°F) for translucency. For matte finishes, use cone 5 and skip the clear coat. Let cool overnight.
FAQ
Q: How do I prevent my porcelain figurine from cracking during drying?
A: Dry it under plastic wrap for at least 5 days, flipping it daily. Never use a heat gun or fan—porcelain shrinks 12–15% and uneven drying causes stress fractures. Add fine grog (10%) to the clay for larger pieces.
Q: Can I use air-dry porcelain for this tutorial?
A: No—air-dry clays lack the vitrification of kiln-fired porcelain and won’t achieve the translucent, glassy finish. They also cannot be glazed properly. Use a real porcelain body and a kiln (or a local ceramics studio’s kiln service).
Q: What’s the best way to attach separate parts like arms or wings?
A: Score both surfaces with a needle tool, apply thick porcelain slip, and press firmly together. Support the joint with a small wooden prop until leather-hard. For wings, insert a thin wire into the armature before attaching—this prevents shear stress during firing.
Leave a Reply