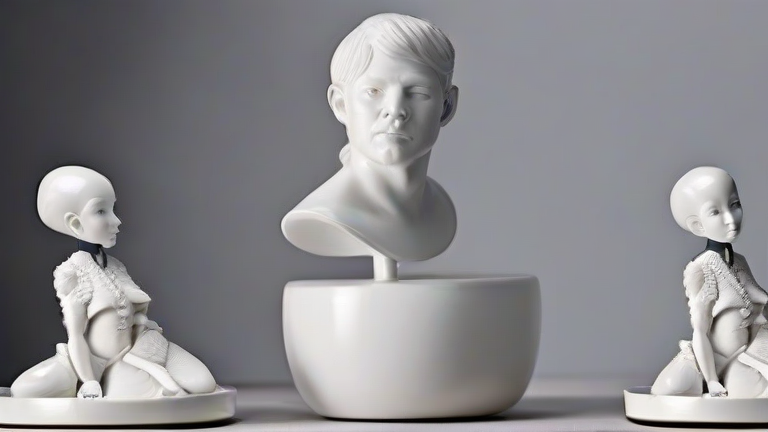
TL;DR: Create detailed porcelain figurines by carving high-fire clay into smooth, precise forms and firing them to achieve a durable, translucent finish. Mastering the balance between delicate detailing and structural integrity is key to producing professional-quality ceramic sculptures.
Understanding Porcelain Characteristics
Porcelain is distinct from other clays due to its fine particle size and high firing temperature, typically reaching 1300°C. This material offers exceptional strength and a unique translucency when thin, making it ideal for intricate figurines. Before starting, ensure your studio has a kiln capable of reaching these high temperatures, as standard earthenware settings will not vitrify porcelain correctly. The raw material is often stiff and dry, requiring careful conditioning to become workable for sculpting.
If you want to dig deeper, check out our guide on Tech Trends: Digital Restoration of Porcelain Figurines.
Preparing the Clay Body
Begin by wedging your porcelain clay thoroughly to remove air bubbles and ensure uniform consistency. Air pockets are the primary cause of explosions during the high-heat firing process, so this step is non-negotiable. Knead the clay until it feels smooth and plastic. If the clay is too stiff, add minimal water and wedge again. For figurines, you will likely need to build the base first, as porcelain can be heavy even in small pieces. Use a rolling pin to create a flat, stable platform that will support the upper body of your sculpture.
Sculpting the Form
Start with large masses of clay, establishing the general silhouette of your figurine. Use your hands to shape the head, torso, and limbs, focusing on proportions before adding any fine details. Porcelain does not tolerate rushing, so allow yourself time to refine the organic curves. Use sculpting tools like loop tools and needle tools to define facial features, clothing folds, or animal textures. Remember that porcelain shrinks significantly during drying and firing, so keep lines crisp and edges sharp. Smooth out any rough patches with a damp sponge, ensuring the surface is ready for the delicate finishing touches.
Drying and First Firing
Once your sculpting is complete, allow the figurine to dry slowly and evenly. Rapid drying causes cracks, which are disastrous for porcelain. Cover the piece with plastic loosely to slow the evaporation process. After a few days, when the piece is bone dry, place it in the kiln for the bisque firing. This first firing locks the structure in place and makes the surface porous enough to accept glaze. Handle the figurine with extreme care, as it remains fragile even after the bisque process.
Glazing and Final Firing
Apply your chosen glaze using a dipping or brushing technique. Porcelain absorbs glaze differently than other clays, so test your glaze recipes beforehand to ensure compatibility. A clear glaze highlights the white body, while colored glazes can add artistic flair. Ensure the bottom of the figurine is waxed or unglazed to prevent it from sticking to the kiln shelf. Fire the glazed piece to its final temperature. The slow cooling cycle is crucial to prevent thermal shock. Once cooled, your porcelain figurine will reveal its characteristic glossy surface and potential translucency, marking the completion of your sculpting journey.
FAQ
Q: Why does my porcelain figurine crack during drying?
A: Uneven moisture loss is the main cause. Ensure the piece dries slowly in a humidity-controlled environment and avoid placing it in direct sunlight or near heat sources.
Q: Can I use regular ceramic glazes on porcelain?
A: No, standard glazes may not melt correctly at porcelain temperatures. You must use glazes specifically formulated for high-fire porcelain to ensure proper fusion and color development.
Q: How thin can I make porcelain figurines?
A> Porcelain can be remarkably thin, allowing for delicate features. However, thin sections are prone to breakage during handling and firing, so maintain a minimum thickness where structural support is required.
Leave a Reply