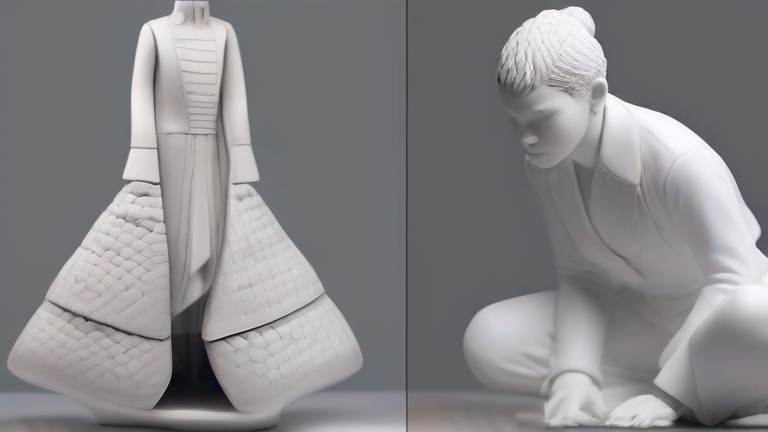
How to Make Porcelain Figurines: Step-by-Step Sculpting Tutorial
TL;DR: To create porcelain figurines, sculpt detailed forms using fine porcelain clay, bisque fire the greenware, and apply multiple glaze coats before final vitrification. Mastering the delicate balance between water content and structural integrity is essential for achieving smooth, translucent results without cracking or warping.
Step 1: Preparation and Material Selection
Begin by selecting a high-quality porcelain clay body known for its low shrinkage rate and white firing color. This material is critical because standard stoneware clays often result in opaque, heavy figurines that lack the characteristic translucency of true porcelain. Prepare your workspace with a smooth, non-stick surface to prevent accidental adhesion. Ensure you have access to a full range of sculpting tools, including loop tools, needle tools, and flexible metal rib tools for smoothing surfaces. Proper preparation minimizes errors that are difficult to correct once the clay begins to dry. Keep a damp sponge nearby to maintain consistent moisture levels throughout the initial modeling phase.
If you want to dig deeper, check out our guide on Elevate Your Home: Porcelain Figurines & Sculpture Ideas.
Step 2: Building the Core Structure
Start with the central mass of the figurine, building it up in layers to prevent structural collapse. For standing figures, ensure the base is wider than the top to provide necessary stability during the drying and firing processes. Use coil techniques for larger volumes or solid wedging for smaller, intricate pieces. As you build, constantly check for internal air pockets, which can cause explosions during the bisque firing. Smooth out any visible tool marks using a damp sponge to create a seamless surface. The goal at this stage is to establish the primary silhouette and proportions accurately before adding finer details. Patience is key here, as rushing leads to uneven drying and potential cracking later.
Step 3: Refining Details and Surface Work
Once the main form is established, focus on refining facial features, clothing folds, or decorative elements specific to your design. Use fine needle tools to carve intricate lines and textures into the soft clay. After carving, smooth the entire surface with a flexible rib to eliminate ridges and ensure an even thickness. Porcelain figurines often require very thin walls to achieve the desired translucent effect upon firing, so be cautious not to make sections too thick. Check for any remaining pinholes or imperfections, filling them with small amounts of slip and smoothing immediately. This step determines the final aesthetic quality of your porcelain sculpture, so take your time to perfect every curve and line.
Step 4: Drying and Bisque Firing
Allow the figurine to dry slowly and evenly in a humid environment to prevent cracking. Cover the piece with plastic for several days, removing it gradually to let the clay lose moisture in controlled stages. The piece must be bone dry, feeling light and chalky, before it enters the kiln. Bisque fire the greenware to a temperature of approximately 1800 to 1900 degrees Fahrenheit. This firing makes the clay porous, allowing it to absorb glaze effectively while remaining fragile. Handle the bisqueware with extreme care, as it is highly susceptible to chipping or breaking. Ensure the kiln shelf is clean to avoid any contamination of the delicate surface.
Step 5: Glazing and Final Firing
Apply a thin, even coat of clear or colored glaze using a dipping or brushing technique. Porcelain glazes must be thin to avoid running or pooling, which can ruin the figurine’s details. Allow the glaze to dry completely before scheduling the final firing. Fire the glazed piece to a higher temperature, typically between 2200 and 2350 degrees Fahrenheit, to achieve full vitrification. This high-heat process melts the glaze and bonds it chemically to the porcelain body, creating a glass-like finish. Let the kiln cool slowly to prevent thermal shock, which can crack the finished piece. Once cooled, inspect the figurine for any defects and enjoy your handcrafted porcelain art.
FAQ
Q:
Leave a Reply