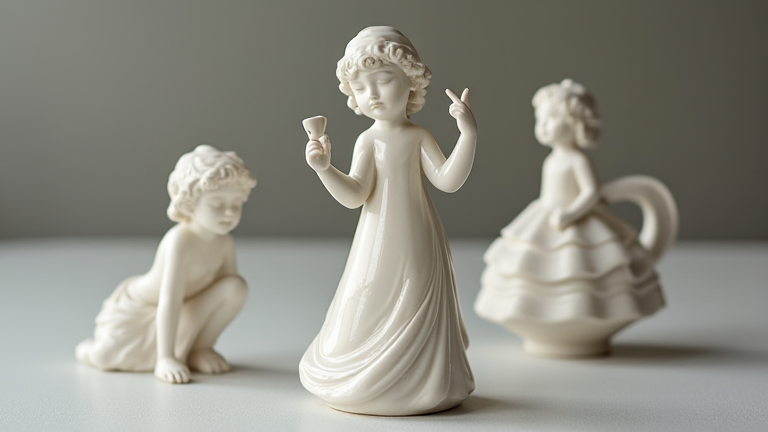
How to Make Porcelain Figurines: A Step-by-Step Tutorial
TL;DR: Create porcelain figurines by sculpting high-fire kaolin clay, bisque firing to 1000°C, and applying glazes. Achieve a glossy, white finish through a final glaze firing at 1300°C to ensure durability and aesthetic perfection.
Preparation and Materials
Begin by gathering essential tools, including porcelain clay, sculpting tools, a wire cutter, and a smooth workspace. Porcelain clay is known for its fine texture and strength, making it ideal for detailed figurines. Knead the clay thoroughly to remove air bubbles, which can cause explosions during firing. Keep the work area clean and have wet rags available to prevent dust buildup, as porcelain dust is hazardous if inhaled. Ensure you have access to a kiln capable of reaching high temperatures, as this is critical for the final product’s integrity.
If you want to dig deeper, check out our guide on Tech & Porcelain: 3D Printing & AR for Figurines.
Sculpting the Figurine
Start with a solid core using coiled or slab-built porcelain to support the weight of the figure. Attach limbs and details using slip and score techniques, ensuring each joint is reinforced for structural stability. Use sculpting tools to refine facial features, clothing textures, and accessories. Focus on symmetry and balance, as porcelain is unforgiving of errors. Allow the piece to dry slowly to a leather-hard stage before adding intricate details. This prevents cracking during the drying process. Check for any visible cracks or weak points and repair them immediately with a small amount of fresh clay.
First Firing and Glazing
Once the figurine is bone dry, place it in the kiln for a bisque firing. Set the temperature to approximately 1000°C. This process turns the clay from a fragile state into a porous ceramic that can hold glaze. After cooling, apply your chosen glazes using dipping, brushing, or pouring methods. Porcelain accepts glazes beautifully, allowing for vibrant colors and smooth finishes. Be careful not to over-apply glaze, as this can cause runs or bubbles. Ensure the base is kept bare or covered with a protective layer to prevent sticking to the kiln shelf during the final firing.
Final Firing and Finishing
Load the glazed figurine into the kiln for the glaze firing. This process requires a higher temperature, typically between 1250°C and 1300°C, depending on the specific porcelain body and glaze used. Maintain a slow cooling rate to prevent thermal shock and cracking. Once cooled, inspect the figurine for any imperfections. If necessary, sand down any glaze bumps with fine-grit sandpaper. The final result will be a durable, elegant porcelain figurine with a characteristic white, translucent quality. Store your finished pieces in a stable environment to preserve their beauty for years to come.
FAQ
Q: Why does porcelain crack during firing?
A: Cracks usually result from uneven drying, trapped air bubbles, or thermal shock during the cooling phase. Ensure slow, even drying and controlled kiln cooling rates to prevent this issue.
Q: Can I use standard ceramic glazes on porcelain?
A: Yes, but you must ensure the glaze is compatible with high-fire temperatures. Standard low-fire glazes will not melt properly or adhere correctly to high-fire porcelain bodies.
Q: How do I prevent my figurine from breaking when handling?
A: Handle the piece with extreme care during the bone-dry stage, as it is most fragile. Use both hands to support the base and avoid placing it on uneven surfaces until it has been bisque fired.
Leave a Reply