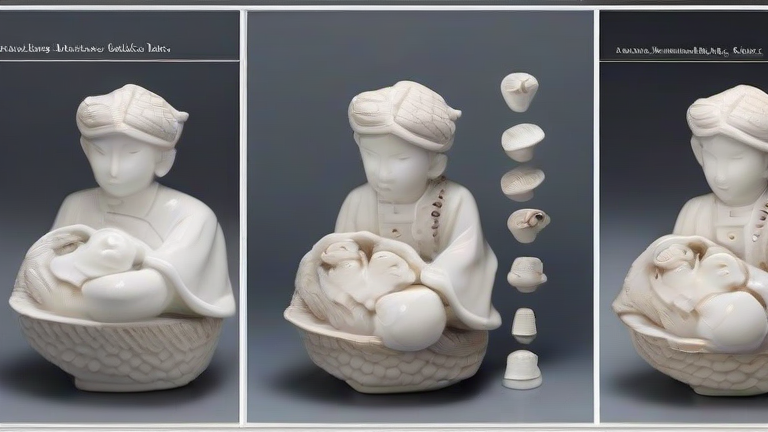
How to Make Porcelain Figurines: A Complete Beginner’s Guide
TL;DR: To make porcelain figurines, you must knead, shape, and detail raw porcelain clay before bisque firing at high temperatures. You then apply glazes and perform a second, high-temperature glaze firing to achieve the characteristic white, translucent finish.
Gathering Your Essential Materials
Begin by sourcing high-quality soft porcelain clay. Unlike stoneware, porcelain has a very low plasticity, meaning it dries quickly and is prone to cracking if handled improperly. You will need a smooth, non-porous work surface, such as a silicone mat or glass slab. Gather basic sculpting tools including wooden modeling tools, metal loop tools for carving, and a needle tool for scoring. For finishing, have sandpaper of varying grits ready, along with a selection of clear and colored glazes specifically formulated for porcelain. Do not forget your kiln, which must be capable of reaching cone 10 or higher temperatures to properly vitrify the clay body.
If you want to dig deeper, check out our guide on Trending Now: The Rise of Sustainable Cotton Overshirts.
Shaping the Figurine
Start by conditioning the clay thoroughly. Knead it until it is smooth and consistent, removing any air bubbles that could cause explosions during firing. Roll out slabs of clay to a uniform thickness, typically around one-quarter inch for small figurines. Use a knife or wire to cut out your basic shapes. When joining separate pieces, such as adding arms or heads, you must score the surfaces with a needle tool and apply slip, which acts as a cement. Press the pieces together firmly. Build up volume by adding small coils or lumps of clay, blending them seamlessly into the main form. Work slowly, as porcelain tends to dry faster than other clays. If the piece feels stiff, cover it with a damp cloth to prevent uneven drying.
Detailing and Refining
Once the basic form is set, add intricate details like facial features, hair textures, or clothing folds. Use a needle tool to carve fine lines and a wooden tool to smooth surfaces. Porcelain is excellent for capturing delicate details, but it is fragile. Handle the piece with extreme care, especially when it reaches the leather-hard stage. After the design is complete, leave the figurine to dry naturally in a draft-free area. This process can take several days. Do not rush this stage, as rapid drying leads to cracks. Once bone-dry, inspect the piece for any imperfections and correct them with a small amount of wet clay.
Firing and Glazing
Place the dry figurine in the kiln for the first firing, known as the bisque firing. Fire slowly to remove all moisture, then ramp up to about 1800 degrees Fahrenheit. After cooling, the piece will be porous and ready for glazing. Mix your glaze and apply it using a brush or dipping method. Ensure even coverage, paying special attention to the base to prevent sticking to the kiln shelf. For a classic look, a clear glaze over unglazed white porcelain is ideal. Alternatively, use transparent colored glazes to add subtle tints. Allow the glaze to dry completely before the second firing. The glaze firing should reach a higher temperature, typically cone 10, which vitrifies the clay and melts the glaze into a glassy surface. This final step creates the durable, shiny, and often slightly translucent porcelain figurine.
FAQ
Q: Why does my porcelain crack during drying?
A: Cracking usually results from uneven drying or rapid moisture loss. Ensure the piece dries in a cool, draft-free environment and covers it with a plastic bag if it dries too fast on one side.
Q: Can I use regular clay tools for porcelain?
A: While many tools work, porcelain is harder and more brittle. Use sharp, clean tools to avoid leaving marks, and be gentle to prevent breaking delicate sections of the figurine.
Q: What is the difference between bisque and glaze firing?</
Leave a Reply