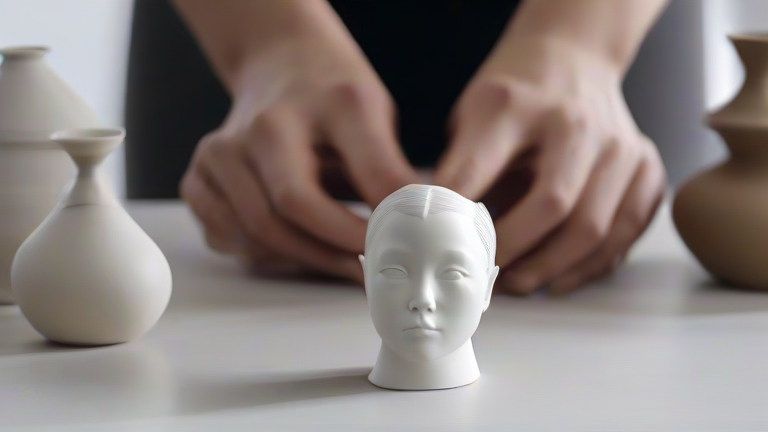
TL;DR: Master porcelain figurines by controlling moisture at every stage—from soft paste sculpting to bone-dry finishing. Use a two-part molding strategy for complex forms, then refine with wet sanding and multiple low-fire glazes to achieve a glass-smooth, translucent finish.
Materials & Prep
Start with a cone 04–06 porcelain body (not stoneware) for translucency. Wedge the clay until no air pockets remain—tap it with a knife; a dull “thud” means ready. Keep a spray bottle, plastic wrap, and a fettling knife within reach. Work on a plaster bat to wick excess moisture evenly.
If you want to dig deeper, check out our guide on Tech Meets Art: 3D Printing for Porcelain Figurines.
Sculpting the Master Model
Build the figurine in sections: head, torso, limbs, and base. Use a wire loop tool to carve facial features while the clay is leather-hard—too soft, and the details blur; too dry, and they crack. For flowing robes or hair, add coils of soft clay and blend with a soft rib, then texture with a needle tool. Let the master model dry to bone-dry (no coolness on the cheek) before molding.
Two-Part Mold Making
For complex figurines, create a two-piece plaster mold. Build a clay bed halfway up the model, coat with a soap release, and pour the first plaster half. After it sets, flip, remove the bed, and pour the second half. Let the mold cure for 48 hours. Cast using slip (liquid porcelain) by pouring, draining, and building walls to 5–8mm thickness. Demold when the cast is leather-hard—too early collapses, too late tears.
Finishing & Firing
Once demolded, seam lines are inevitable. Use a damp sponge to wipe seams, then a fine metal rib to smooth. For delicate details, re-carve with a pin tool. Dry fully, then bisque fire to cone 04. Sand the bisque with 400-grit wet/dry paper under running water to eliminate pinholes. Apply underglazes, then a clear glossy glaze. Fire to cone 06 for a satin sheen—avoid cone 5 or higher, which can warp thin limbs.
Pro Tips
• Add 1% nylon fiber to your casting slip to prevent greenware breakage.
• Use a toothpick to support outstretched arms during drying—remove before firing.
• For a porcelain “eggshell” effect, apply three thin glaze coats, not one thick coat.
FAQ
Q: Why do my figurines crack at the ankles during drying?
A: Thin cross-sections dry faster than thick bases. Wrap the base in plastic while letting the legs air-dry, or hollow the base with a loop tool to equalize moisture loss.
Q: Can I use a one-piece mold for a standing figurine?
A: Only if the figurine is flat-backed or has undercuts. For a full-round piece, a two-piece (or multi-part) mold is mandatory; otherwise, you cannot release the cast without breaking the mold.
Q: How do I fix a glaze that pinholes after firing?
A: Pinholes come from trapped gas in the clay body. Re-fire with a 15-minute hold at peak temperature (soak) to let bubbles escape, and ensure your bisque reached full cone 04—undercooked bisque traps organics.
Leave a Reply