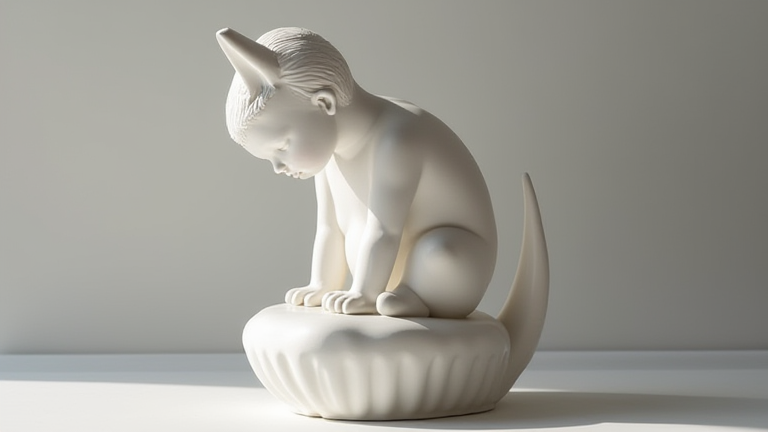
Porcelain Sculpture Tutorial: Step-by-Step Guide
TL;DR: To create a durable porcelain figurine, you must properly prepare your clay, sculpt with precision, and execute a two-step firing process to achieve a glossy, white finish. Success relies on maintaining consistent moisture levels and ensuring the kiln reaches the correct high temperatures for vitrification.
Porcelain is a premium ceramic material prized for its strength, translucency, and pristine white appearance. Unlike standard earthenware, porcelain requires specific techniques to handle its unique plasticity and firing requirements. This guide will walk you through the essential steps to craft a professional-grade porcelain sculpture, from initial setup to final glazing. Whether you are creating a delicate floral arrangement or a complex human figurine, mastering these steps ensures your artwork will last for generations.
If you want to dig deeper, check out our guide on Does Collecting Porcelain Figurines Boost Your Mental Health.
Step 1: Preparing Your Materials
Begin by selecting high-quality porcelain clay, which typically contains kaolin, feldspar, and quartz. Knead the clay thoroughly to remove air bubbles, as these can cause explosions during firing. Use a damp cloth to keep the clay moist while working. Prepare a clean, smooth surface, such as a metal or plastic board, to support your sculpture. Ensure all tools, including modeling tools, wire cutters, and smoothing sponges, are clean and ready for use. Proper preparation prevents contamination and ensures a smooth workflow.
Step 2: Building the Base
Start by creating a stable base for your figurine. Roll the clay into a ball and flatten it into a disc shape, ensuring it is thick enough to support the weight of the sculpture. If you are creating a standing figure, consider making a slightly larger base to provide necessary stability. Use a sponge to smooth the edges and blend any seams. It is crucial that the base is perfectly level; any tilt will compromise the structural integrity of the final piece. Allow the base to dry slightly until it reaches a firm leather-hard state before attaching the main body.
Step 3: Sculpting the Form
Attach the main body to the base using slip, a liquid clay mixture, to ensure a strong bond. Build up the form gradually, adding small amounts of clay at a time. Use your fingers and modeling tools to shape the contours, paying close attention to anatomical details or specific design features. For porcelain, remember that it shrinks significantly during drying and firing, so make your piece slightly larger than desired. Smooth out any tool marks with a wet sponge to achieve a seamless surface. Check for cracks regularly, as porcelain is prone to cracking if it dries unevenly.
Step 4: Drying and Bisque Firing
Once the sculpture is complete, it must dry slowly and evenly. Cover it loosely with plastic wrap to prevent rapid moisture loss, which can cause warping. The drying process can take several days or weeks depending on the size and humidity. Once bone dry, place the piece in a kiln for the bisque firing. This initial firing, typically around 1800 to 1900 degrees Fahrenheit, turns the clay into a porous ceramic. This step makes the piece sturdy enough to handle and prepares it for glazing.
Step 5: Glazing and Final Firing
After the bisque firing, apply your chosen glaze. Porcelain is often left unglazed to showcase its natural white texture, but if you want a glossy finish, use a clear glaze. Dip the piece into the glaze or brush it on, ensuring even coverage. Avoid pooling glaze in crevices, as this can cause defects. Once the glaze is dry, place the sculpture back in the kiln for the glaze firing. This final step requires higher temperatures, usually between 2200 and 2400 degrees Fahrenheit, to achieve full vitrification. Let the kiln cool completely before removing your finished porcelain sculpture.
By following these steps, you can create beautiful, durable porcelain artworks that highlight the elegance of this exceptional material. Practice patience and precision to
Leave a Reply