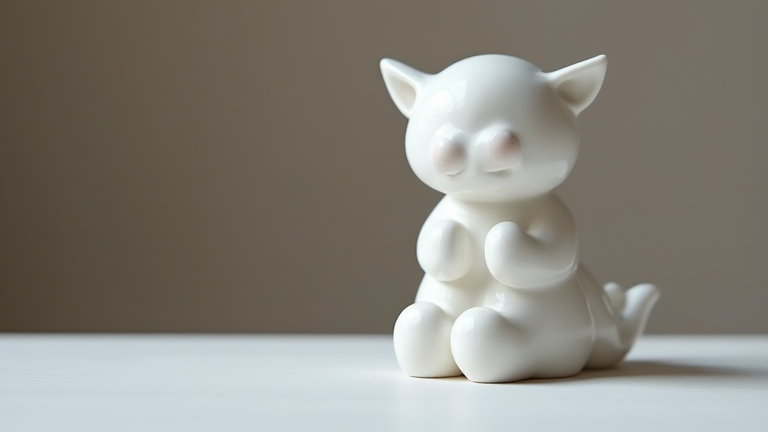
TL;DR: To craft a porcelain figurine, you’ll shape wet clay, hollow the form, fire it once, glaze, then fire again at high temperature. Master the basics of pinching and slip assembly to avoid cracks and warping.
Porcelain Figurine Tutorial: Step-by-Step Guide for Beginners
Step 1: Gather Your Materials
Use a porcelain-specific clay body (not stoneware) for translucency. You’ll need a wooden modeling tool, a needle tool, a small sponge, a rolling pin, a wire cutter, and a container of “slip” (clay mixed with water to a yogurt consistency). Work on a canvas-covered board to prevent sticking.
Step 2: Prepare the Clay and Plan the Form
Knead the clay to remove air bubbles—porcelain is prone to trapping air, which causes explosions in the kiln. Sketch a simple design: a standing cat, a flower, or a classic shepherdess. Keep the figure under 15 cm tall for your first piece. Roll a slab 1 cm thick for the base, and form the main body as a solid cone.
Step 3: Hollow the Body (Critical Step)
Because porcelain shrinks 12–15% during drying and firing, a solid piece will crack. Using a needle tool, carefully carve out the interior of the torso and head, leaving walls about 0.5 cm thick. Drill a tiny vent hole (1–2 mm) in an inconspicuous spot—this allows steam to escape during the bisque firing.
Step 4: Attach Limbs and Details with Slip
Score both surfaces (crosshatch with a needle) and apply slip before pressing arms, wings, or a hat onto the body. Wipe away excess slip with a damp sponge. For delicate features like fingers or flower petals, use a damp brush to smooth seams—never add water with your hands, as it weakens the clay.
Step 5: Dry Slowly and Bisque Fire
Cover the figurine with plastic wrap for 3–5 days, then leave it uncovered for 2 days. When it’s bone-dry (no cool spots on your cheek), fire to 900°C (1650°F) for the bisque. Let it cool naturally for 12 hours before opening the kiln.
Step 6: Glaze and Glost Fire
Apply 2–3 thin coats of low-fire glaze using a brush, avoiding pooled glaze in crevices (it will blur details). Wipe the bottom clean, then fire to 1200–1250°C (2190–2280°F). For matte finishes, use a matte glaze; for glossy, use a clear overglaze. Cool slowly to prevent crazing.
Pro Tip: Always test a small clay chip with your glaze first—porcelain’s high silica content can produce unexpected colors.
FAQ
Q: Why did my figurine crack during drying?
A: Likely because the walls were uneven or the piece was dried too fast. Wrap it in plastic for the first 3 days, and ensure even wall thickness (0.5 cm) after hollowing.
Q: Can I use air-dry clay instead of porcelain?
A: No—air-dry clay is not vitrified and won’t become translucent or durable. For authentic porcelain figurines, you must use kiln-fired ceramic porcelain clay.
Q: How do I fix a broken limb after bisque firing?
A: Use a porcelain repair slip (same clay mixed with water) and re-fire at a lower temperature, or use an epoxy for cold repair—but note that a re-fired piece will not be food-safe or waterproof.
Leave a Reply