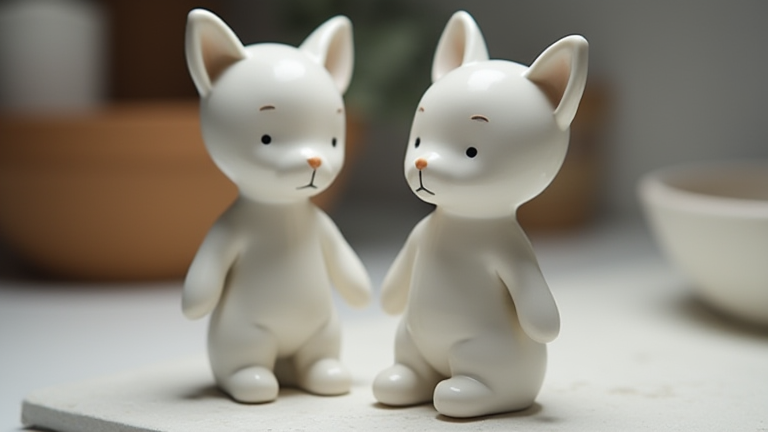
TL;DR: To create a porcelain figurine, you must master the delicate balance of wedging, hand-building, and careful glazing to achieve a translucent finish. Success depends on precise firing schedules and selecting compatible glazes that enhance the clay body’s unique characteristics without cracking.
Understanding Porcelain Clay
Porcelain is distinct from stoneware or earthenware due to its high silica and kaolin content. This composition allows it to become vitrified and translucent when fired to high temperatures. Unlike softer clays, porcelain is notoriously finicky. It has low plasticity, meaning it dries out quickly and is prone to cracking if handled improperly. Always use a dedicated porcelain clay body, such as a standard white or clear porcelain, to ensure the best results for detailed figurine work. Avoid mixing porcelain with other clay bodies, as differing shrinkage rates will cause catastrophic failure during the bisque firing.
If you want to dig deeper, check out our guide on 7 Viral Streetwear Trends Taking Over Sneaker Culture.
Preparation and Wedging
Proper preparation is non-negotiable for porcelain. Begin by wedging your clay thoroughly to remove air bubbles and ensure uniform consistency. Use the spiral wedging technique, pressing and rotating the clay repeatedly until it feels smooth and cohesive. If you find dry spots or cracks during wedging, discard that portion immediately, as these weak points are likely to explode in the kiln. Knead the clay until it reaches a plastic state that holds its shape without crumbling. This step is critical because porcelain lacks the elasticity of other clays, making it susceptible to internal stresses that can lead to distortion during drying.
Sculpting the Figurine
For small figurines, hand-building is often superior to wheel-throwing. Start with a solid base to ensure stability. Build up the form layer by layer, adding small amounts of clay at a time. Use scoring and slipping to join sections securely. Scoring involves creating rough lines on the joining surfaces, while slip acts as the adhesive. Work quickly, as porcelain dries fast. If a section dries out, re-wet it gently with a sponge before adding more clay. Use a variety of sculpting tools to refine details, such as facial features or clothing textures. Keep the design simple initially, as intricate details can become lost or fragile during the firing process. Smooth the surface with a damp sponge to eliminate tool marks before the piece is fully leather-hard.
Drying and Bisque Firing
Drying is the most dangerous phase for porcelain. Cover the figurine loosely with a plastic bag to slow down evaporation. Check it regularly and turn it over to ensure even drying. Any rapid changes in humidity or temperature can cause cracks. Once the piece is bone dry, place it in the kiln for a bisque firing. Bisque firing at cone 06 to cone 04 renders the clay porous and ready for glazing. This step also removes organic matter and chemically binds the clay particles, making the figurine stronger and easier to handle without breaking.
Glazing Techniques
Glazing porcelain requires careful selection. Choose glazes specifically formulated for high-fire porcelain, typically cone 6 to cone 10. Dip, pour, or brush the glaze onto the bisque-fired figurine. Ensure an even coat, as thin areas may remain matte while thick areas can run or pool. Avoid glazing the bottom foot, as this can cause the piece to fuse to the kiln shelf. Use a kiln wash or a dedicated kiln shelf to protect your equipment. The glaze will melt and fuse with the clay body during the final firing, creating a glass-like surface.
Final Firing and Finishing
Load the kiln carefully, ensuring adequate space between pieces to prevent sticking. Fire to the desired cone, maintaining a steady temperature curve. A slow cooling cycle is essential to prevent thermal shock. Once cooled, inspect the figurine for any glaze defects. If necessary, sand down any rough edges with fine-grit sandpaper. Your porcelain figurine is now complete, showcasing the elegance and translucency unique to this medium.
Leave a Reply