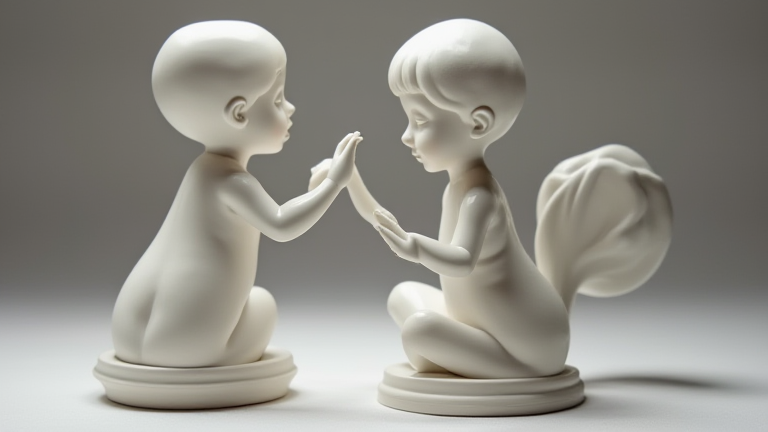
TL;DR: Porcelain figurine sculpting is the art of shaping wet porcelain clay into a miniature sculpture, then firing it in a kiln to create a durable, translucent ceramic piece. This guide walks you through preparation, hand-building, detailing, drying, and firing—plus essential tips to avoid cracking and warping.
Materials and Workspace Preparation
Before touching clay, assemble your kit: porcelain clay (not stoneware—it’s whiter and finer), a rolling pin, a clay knife or needle tool, a small sponge, a wire loop tool, a paintbrush, and a turntable. You’ll also need a spray bottle with water, plastic wrap, and a kiln access (a community studio works). Cover your work surface with canvas or a silicone mat. Porcelain is sticky and picks up dust, so wash your hands and wipe down all tools. Keep a bowl of water nearby—porcelain dries fast and cracks easily if left exposed.
If you want to dig deeper, check out our guide on Tech Trends: 3D Printing & AR for Porcelain Figurines.
Step 1: Wedge and Shape the Base
Knead the clay for 5 minutes to remove air bubbles—this prevents explosions in the kiln. Form a ball, then press it into a squat cylinder for the figurine’s base. Use your thumbs to hollow out the bottom, leaving a 1 cm thick floor. This hollow base allows even drying and firing. Place it on the turntable. For a standing figure, create a tapered cone for the torso; for a seated figure, a flattened oval. Keep all parts thicker than 1 cm—thin parts dry and crack first.
Step 2: Build the Body and Limbs
Roll coils for arms and legs, then attach them to the torso using the “score and slip” method: scratch both surfaces with the needle tool, wet them with a brush, and press together. Smooth the joints with a damp sponge. Porcelain is soft—support limbs with small clay props or crumpled paper towels until they firm up. Keep the figure’s pose simple: extended arms or thin ankles will sag. If you want a dynamic pose, sculpt in sections and join them after they’re leather-hard.
Step 3: Sculpt the Head and Details
Form a ball for the head, then pinch out a chin and brow. Use the wire loop to carve eyes, nostrils, and mouth lines—but keep features subtle; porcelain shrinks ~12% during firing, so deep cuts become shallow. For hair, press small coils onto the skull, then texture with a needle. Add accessories like a hat or book using tiny slabs. Work slowly: a wet brush can smooth away mistakes, but overworking makes the clay sticky and sloppy.
Step 4: Drying and Refining
Cover the figurine loosely with plastic wrap for 24 hours, then uncover it for 2–3 days until it reaches leather-hard (cool, firm, no longer shiny). At this stage, carve fine details—wrinkles in clothing, lace edges, fingers. Use a damp sponge to blend seams. Check for cracks; if any appear, fill them with a thick slip (clay mixed with water) and smooth. Let it dry fully for another 5–7 days. Any moisture left will turn to steam and explode in the kiln.
Step 5: Bisque Firing and Glazing
Fire the piece to cone 06 (about 1830°F) for the bisque—this hardens the porcelain into a porous, chalky state. After cooling, inspect for flaws. Sand any rough spots with fine sandpaper. Then apply a porcelain glaze (clear or tinted) with a brush, leaving the bottom unglazed. Fire again to cone 6 (about 2230°F) for vitrification—this turns it translucent and glass-like. Let it cool slowly for 12 hours before opening the kiln.
Pro Tips for Beginners
Porcelain shrinks dramatically, so make every part 20% larger than your final vision. Never skip the hollow base—solid
Leave a Reply