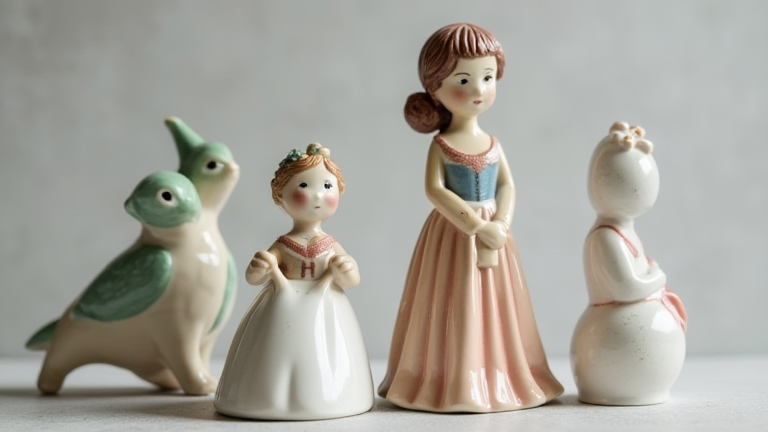
TL;DR: Clean and prime your porcelain figurine, then paint in thin, translucent layers with specially formulated acrylic enamel paints, sealing each layer with a matte or gloss varnish. Always use a soft synthetic brush and let each coat dry completely to avoid brush marks and chipping.
Step 1: Prepare the Surface
Wash your porcelain figurine with warm, soapy water using a soft cloth to remove dust and oils. Rinse thoroughly and let it dry for at least 2 hours. If the piece has a glossy glaze, gently sand the entire surface with 400-grit sandpaper—this creates “tooth” for paint adhesion. Wipe away the sanding dust with a tack cloth.
If you want to dig deeper, check out our guide on Here are a few options, all under 70 characters:
**Option 1.
Step 2: Apply a Primer
Use a spray-on bonding primer made for ceramics or a brush-on liquid primer designed for porcelain. Apply one very thin, even coat. Do not overload the brush—porcelain is non-porous, and thick primer will pool and run. Let the primer cure for 24 hours. This base coat is non-negotiable for preventing peeling later.
Step 3: Choose Your Paint and Brushes
Only use water-based acrylic enamel paints labeled “for ceramics” or “porcelain.” Avoid craft acrylics meant for canvas—they will bead up and crack. Select a set of fine-tipped synthetic brushes (size 0, 1, and 2) for controlled detail work. Also have a clean palette and a small cup of water for thinning.
Step 4: Paint in Thin Layers
Dip your brush in water, then load a tiny amount of paint. Wipe most of it off on a paper towel—you want a semi-transparent wash. Apply one thin layer over the entire figurine (or one section, like a dress or face). Let it dry for 15–20 minutes, then apply a second coat. Repeat until the color is opaque. For shading, apply a darker wash to recessed areas like folds or eye sockets, then blend edges with a dry brush while wet.
Step 5: Seal and Protect
After all paint is dry (wait 48 hours), apply a clear acrylic sealer. Use a spray gloss for a shiny, ceramic-like finish or a matte spray for a muted antique look. Spray outdoors in a well-ventilated area, holding the can 8 inches away. Apply two light coats, 30 minutes apart. Let the final seal cure for 72 hours before handling.
Pro Tips for Porcelain Sculptures
Always paint from the inside out on complex sculptures—for example, paint the torso before the arms so you don’t smudge wet areas. Never use a hair dryer; heat causes bubbles in enamel paint. If you make a mistake, wipe it off immediately with a damp cotton swab, but only before the paint dries. Keep your work area dust-free by covering the figurine with a clean cardboard box between coats.
FAQ
Q: Can I use regular acrylic paint on porcelain figurines?
A: No—regular acrylic lacks adhesion and flexibility, so it will peel or chip off glossy porcelain. Always use acrylic enamel paints specifically formulated for ceramics or glass.
Q: How do I keep my brush strokes from showing?
A: Thin your paint with water until it’s the consistency of skim milk, then apply 3–5 very light coats instead of one thick one. Also, use a soft synthetic brush and never press hard—let the paint flow off the tip.
Q: Do I need to bake the figurine after painting?
A: Only if your enamel paint label says “bake-on.” Most modern porcelain paints are air-cure, but baking at 300°F (150°C) for 30 minutes can increase durability for high-touch items. Always check the paint manufacturer’s instructions first.
Leave a Reply