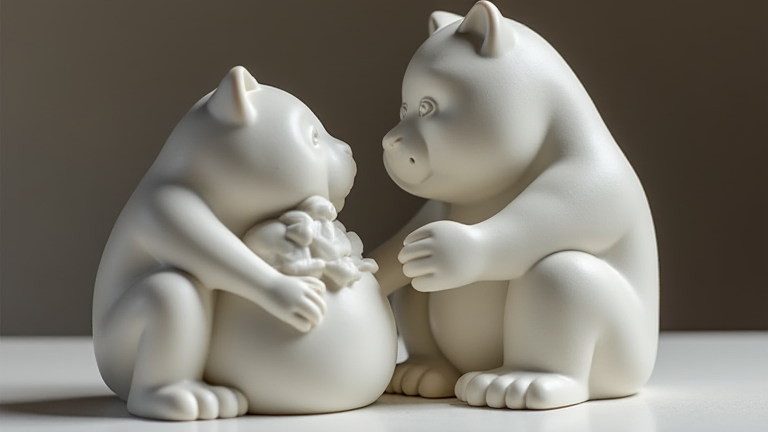
TL;DR: To make porcelain figurines, you shape wet porcelain clay by hand or with molds, let it dry to leather-hard, then refine and assemble parts before bisque firing. After glazing or painting, a final high-temperature firing vitrifies the piece into a durable, translucent sculpture.
Step 1: Prepare Your Porcelain Clay
Start with a high-quality porcelain body (not stoneware) for its white, translucent finish. Wedge the clay thoroughly to remove air bubbles—this prevents explosions in the kiln. Keep the clay wrapped in damp cloths, and work on a plaster bat to wick excess moisture. For small figurines, a 1–2 lb block is enough.
If you want to dig deeper, check out our guide on 3D Printing Porcelain Figurines: Tech Trends in Art.
Step 2: Build the Armature and Core
For standing figurines, create a simple wire or wooden armature to support the weight. Cover it with a rough core of porcelain—this is your “skeleton.” Keep the core solid but not overly thick (max 1 cm) to avoid cracking. For seated or reclining poses, skip the armature and use a solid base coil.
Step 3: Sculpt the Main Forms
Add clay in small increments, pinching and coiling to build the torso, head, and limbs. Work from large masses to small details. Keep a spray bottle handy—porcelain dries fast and will crack if stressed. Use wooden ribs and loop tools to smooth surfaces, but avoid over-wetting, which turns the clay into slurry.
Step 4: Refine Details and Assemble
When the piece is leather-hard (cool, firm, but still slightly damp), carve facial features, folds in clothing, and textures. Score and slip any separate parts—arms, wings, or accessories—onto the main body. Blend seams with a soft brush dipped in water. Let the assembled figurine dry slowly under plastic for 24–48 hours.
Step 5: Bisque Fire and Finish
Once bone-dry (no cool spots on your cheek), fire the piece to cone 06 (about 1800°F) for bisque. After cooling, sand any rough edges. Apply underglazes or ceramic stains for color, then dip in a clear porcelain glaze (keep glaze off the base to avoid sticking). Fire again to cone 6–10 (2200–2300°F) for full vitrification. Cool slowly.
Pro Tips for Success
Always test-fire a small sample of your clay and glaze combo first. Porcelain shrinks up to 15%, so sculpt 15% larger than your final size. Support protruding parts (like outstretched arms) with clay props during drying and firing. Never fire a hollow piece without a small vent hole—trapped air will shatter it.
FAQ
Q: Can I use air-dry clay instead of real porcelain?
A: No—air-dry clay doesn’t vitrify or achieve porcelain’s translucent, glass-like quality. You need kiln-fired porcelain for true figurines.
Q: Why did my figurine crack during drying?
A: Cracks happen from uneven drying or joining parts without scoring/slipping. Dry slowly under plastic, and ensure all attachments are well scored and compressed.
Q: How do I get a glossy, smooth finish without brush marks?
A: Spray-on glazes or dipping glazes give an even coat. For brush-on, apply three thin, even layers, letting each dry slightly. Then fire to the glaze’s recommended cone for a self-leveling finish.
Leave a Reply