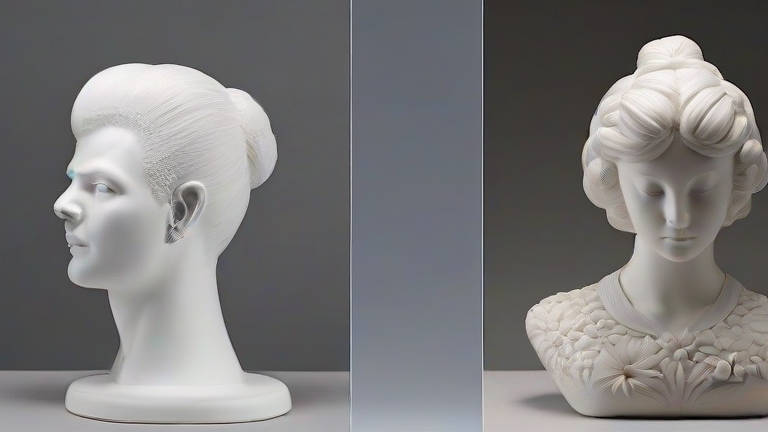
TL;DR: Mastering porcelain figurines requires mastering the balance between clay plasticity and structural integrity, using specialized tools to refine intricate details before firing. Success hinges on consistent practice, proper drying techniques, and understanding the unique thermal properties of porcelain to achieve a flawless, translucent finish.
Understanding the Material
Porcelain is distinct from other clays due to its high kaolin content, which grants it a unique translucency and strength after firing. It is notoriously difficult to work with because it tends to dry out rapidly and is prone to cracking if handled carelessly. For beginners, selecting a fine-grain porcelain body is essential. This type of clay is less prone to shrinkage and offers a smoother surface for detailed work. Always knead the clay thoroughly to remove air bubbles, which can cause explosive failures in the kiln. Remember that porcelain has a higher water absorption rate than stoneware, so you must work in smaller batches to prevent the material from becoming unworkable before you finish your piece.
If you want to dig deeper, check out our guide on 3D Printing Porcelain Sculptures: Tech Meets Art.
Building the Form
Begin by creating a simple armature if your figurine is large. Use copper wire or thin steel to create a skeletal support structure that will be embedded within the clay. This provides necessary structural stability for thin limbs and heads. Start building from the ground up, beginning with the feet and working upward. Use small, controlled additions of clay, blending each new piece into the existing form with a wooden rib or your fingers. For beginners, it is often easier to build the figure in separate sections, such as the torso, head, and limbs, and attach them later. This approach reduces the risk of collapse during the initial shaping phase. Ensure all joints are scored and slipped before joining to create a strong mechanical bond that will withstand the drying process.
Refining Details
Once the basic form is established, allow the figurine to reach the leather-hard stage. This is the ideal time for adding intricate details such as facial features, clothing textures, and hair. Use fine-tip modeling tools or even ballpoint pens to carve out delicate lines. Be patient with this stage, as porcelain is unforgiving of errors. Smooth out any visible seams or tool marks using a damp sponge or a flexible plastic rib. The goal is to create a surface that is uniform and ready for glazing. Pay close attention to the scale of the features, ensuring that eyes, noses, and mouths are proportionate to the overall size of the figurine. A magnifying lamp can be incredibly helpful during this phase to spot minute imperfections that might be missed by the naked eye.
Drying and Firing
Proper drying is the most critical step in porcelain sculpture. Rapid drying leads to warping and cracking. Cover your work with a plastic bag loosely draped over the piece to slow down the evaporation rate. This controlled environment allows the clay to dry evenly. Never fire a porcelain figurine that is not bone dry. Any residual moisture will turn to steam in the kiln, causing the piece to explode. When firing, use a slow schedule to avoid thermal shock. The bisque firing should typically reach cone 06 or 04. After glazing, the final glaze firing should be done at cone 6 or higher to achieve the characteristic porcelain sheen and translucency.
FAQ
Q: Why does my porcelain figurine crack during drying?
A: Cracking is usually caused by uneven drying or internal air bubbles. Ensure you dry the piece slowly in a humid environment and knead your clay thoroughly to remove all trapped air before starting.
Q: Can I use regular sculpting clay for porcelain figurines?
A: No, regular clay does not have the high-fired strength or translucency of porcelain. You must use a specific porcelain body designed for high-temperature firing to achieve the desired aesthetic and durability for figurines.
Q: How do I prevent thin limbs from breaking?
A: Use a wire armature to support thin sections like arms and legs. This internal support provides the necessary structural integrity to
Leave a Reply