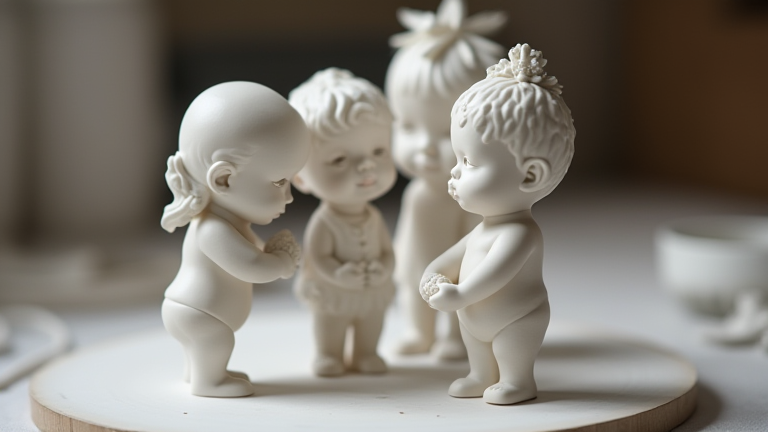
How to Sculpt Porcelain Figurines: A Beginner’s Guide
TL;DR: To sculpt porcelain figurines, start by building a sturdy armature core, then layer porcelain clay to establish the basic form before adding intricate details. Finish by trimming excess material, smoothing the surface, and firing the piece in a kiln at high temperatures to achieve a durable, glossy finish.
Creating porcelain figurines is a rewarding artistic process that demands patience, precision, and an understanding of material properties. Unlike earthenware, porcelain is more brittle and requires specific techniques to prevent cracking during the drying and firing stages. This guide will walk you through the essential steps to create your first professional-quality porcelain sculpture, ensuring you avoid common pitfalls and achieve a flawless result.
If you want to dig deeper, check out our guide on Health Risks: Lead in Porcelain Figurines & Sculptures.
Preparing Your Workspace and Materials
Begin by gathering high-quality porcelain clay, known for its white color and high firing temperature. You will also need a variety of sculpting tools, including ribbons, needle tools, and sgraffito pens. Prepare a sturdy armature using chicken wire or a metal framework. The armature serves as the skeletal structure for your figurine, supporting the weight of the clay as you build it up. Without a proper support system, larger porcelain pieces are prone to collapsing under their own weight during the drying process. Ensure your workspace is well-ventilated and that you have access to a kiln capable of reaching cone 6 or higher temperatures, which is necessary for true porcelain vitrification.
Building the Core Form
Start by attaching coils of porcelain clay to the armature, securing them with slip to ensure adhesion. Build up the volume of your figurine gradually, focusing on the major anatomical structures such as the torso, limbs, and head. Keep the walls of your sculpture relatively thick at this stage, as porcelain can become too fragile if made too thin during the initial construction. Use wooden ribs to smooth out the surface and blend the coils together seamlessly. As you work, constantly check the balance of the figurine. An unbalanced piece is difficult to handle and may fall over, ruining hours of work. Once the basic shape is defined, allow the piece to dry slightly until it reaches a leather-hard state, which provides enough firmness to support detailed work without being brittle.
Adding Details and Refining
With the core structure solidified, you can begin adding intricate details. Use fine clay strips to create facial features, hair texture, or clothing folds. Press these additions firmly into the main body to ensure they do not separate during drying. Utilize sgraffito tools to carve out patterns or define contours, enhancing the visual depth of your figurine. Smooth any rough edges with a damp sponge or a soft cloth. Pay close attention to symmetry, especially if you are sculpting human or animal figures. Use a ruler or a digital camera to compare both sides of the figurine, making adjustments as needed. This stage requires a steady hand and a keen eye for proportion. Remember that porcelain shrinks significantly during firing, so design your details with this shrinkage in mind to maintain clarity in the final piece.
Drying and Firing
Proper drying is critical to the success of your porcelain figurine. Allow the piece to dry slowly in a controlled environment to prevent rapid moisture loss, which can cause cracking. Cover the figurine loosely with plastic to slow the drying process, removing the cover periodically to check for evenness. Once the piece is bone dry, it is ready for the first firing, known as the bisque firing. This firing removes any remaining chemical water and strengthens the clay body. After bisque firing, you can glaze the figurine if desired. Apply thin, even coats of glaze to avoid drips and pooling. Finally, fire the glazed piece at full temperature. The result will be a dense, translucent, and beautiful porcelain sculpture. Take your time at each stage, and respect the unique properties of porcelain to create stunning works of art.
FAQ
Q: Why does porcelain shrink more than other clays?
A: Porcelain contains a high
Leave a Reply