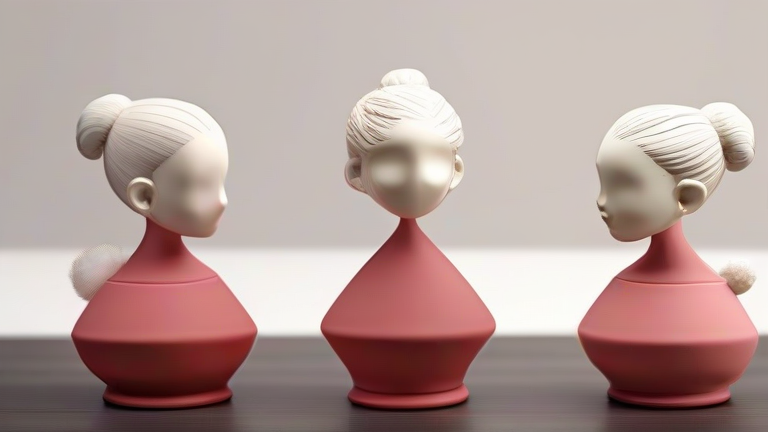
How to Make Porcelain Figurines: Step-by-Step Sculpting Tutorial
TL;DR: To create a porcelain figurine, you must first condition and block out the clay, then refine details before bisque firing and glazing. The final piece is achieved through careful layering of glazes and a second high-temperature firing in a kiln.
Understanding Porcelain Clay
Porcelain is distinct from earthenware or stoneware due to its fine particle size and high firing temperature, which results in a translucent, white, and durable finish. When selecting your material, choose a high-quality porcelain body that has been properly wedged to remove air pockets. Air bubbles are the primary cause of explosions during the firing process, so taking the time to knead the clay thoroughly is essential for the structural integrity of your figurine. You should also consider the specific type of porcelain, as some are more plastic and easier to sculpt, while others are stiffer but hold finer details better. Always keep your workspace clean and your hands damp with water to prevent the clay from drying out prematurely, as porcelain dries faster than other clay bodies.
If you want to dig deeper, check out our guide on Porcelain Figurines: Timeless Beauty & Collectible Value.
Blocking Out the Form
Begin by creating a rough sketch of your desired figurine to guide your proportions. Roll the clay into a ball and press it onto a non-stick mat or a smooth wooden board. Use a wooden modeling tool to gently push and pull the clay into the basic shape of the figure, focusing on the overall mass rather than specific features at this stage. If your figurine will be large, it is safer to build it in sections and join them with slip, a liquid mixture of clay and water. Ensure that the joints are well-scored, which involves scratching the surfaces to create a rough texture, and then smoothed over with slip. This mechanical interlock helps prevent the sections from separating during the drying phase. Keep the form simple and balanced, as complex shapes are more prone to warping or cracking as the water evaporates from the clay matrix.
Refining Details
Once the basic shape is established and the leather-hard, use flexible loop tools and fine needles to carve out details such as facial features, clothing folds, or textural elements. Work slowly and steadily, removing small amounts of clay at a time to avoid breaking thin parts of the figurine. Use a damp sponge to smooth out any rough edges or tool marks, creating a seamless surface that will accept the glaze evenly. Pay close attention to the thickness of the walls, as porcelain figurines should generally have a uniform thickness to ensure even firing. If any cracks appear, fill them with a slurry of clay and water, pressing it in gently. Allow the figurine to dry completely, which can take several days depending on the humidity in your environment. It is crucial that the piece is bone dry, meaning it has a light gray color and feels lightweight, before it enters the kiln.
Firing and Glazing
Place the dry figurine in a kiln for the bisque firing, which typically reaches temperatures between 1830 and 1945 degrees Fahrenheit. This firing removes chemical water and burns out any organic matter, turning the clay into a porous ceramic known as bisqueware. After the kiln has cooled, clean the figurine with a soft brush to remove any dust. Apply a thin, even layer of glaze using a brush, dipping method, or spray. Porcelain takes glazes beautifully, allowing for vibrant colors and high gloss finishes. Be cautious of pooling glaze in recesses, as this can lead to pinholes or crawling. Once the glaze is dry to the touch, place the piece back into the kiln for the glaze firing, which occurs at a higher temperature than the bisque firing. This final step melts the glaze onto the surface, creating a glass-like coating that seals the porcelain and enhances its translucency.
FAQ
Q: Can I use regular air-dry clay to make porcelain figurines?
A: No, air-dry clay does not undergo a vitrification process and will not achieve the hardness
Leave a Reply