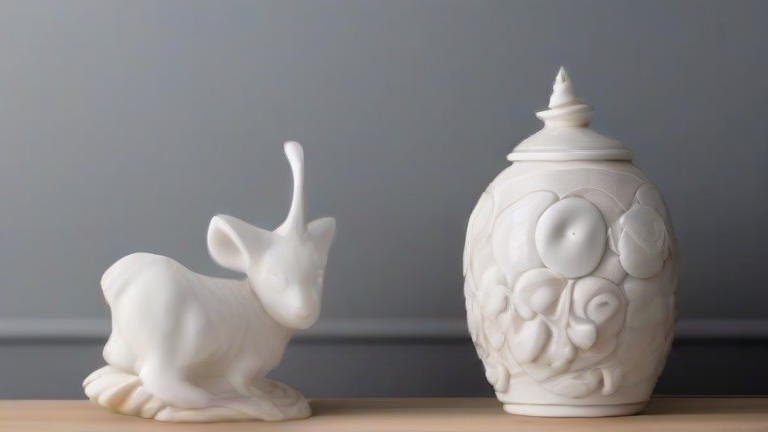
How to Make Porcelain Figurines: Step-by-Step Sculpting Tutorial
TL;DR: Create a stable armature, build up the form using layered porcelain clay, and refine details before firing. Ensure proper drying and bisque firing to prevent cracking and achieve a durable final product.
Creating porcelain figurines requires patience and precision. Unlike stoneware, porcelain is translucent and fragile, demanding careful handling from start to finish. Begin by selecting a high-quality plastic or porcelain clay body. Mix in a small amount of wax if you are working with cold porcelain, as this improves plasticity and reduces cracking during drying. Prepare your workspace with non-stick mats to protect surfaces and ensure smooth tooling.
If you want to dig deeper, check out our guide on How to Make Porcelain Figurines: A Beginner’s Sculpting Tuto.
Step 1: Constructing the Armature
Start by building a sturdy internal armature using wire or aluminum straws. This supports the weight of the porcelain, which becomes brittle even when wet. The armature should extend beyond the figure’s base to allow for easy removal later. Wrap the armature lightly with clay to create a basic silhouette. Keep the core structure simple, focusing on the main masses of the head, torso, and limbs rather than intricate details.
Step 2: Building Up Volume
Apply porcelain clay in thin, even layers over the armature. Use a sculpting tool to blend each new layer into the previous one, ensuring no air bubbles are trapped. Work from the center outward, adding volume to the cheeks, shoulders, and hips. Allow each session’s work to dry to a leather-hard state before continuing. This prevents slumping and ensures structural integrity. Use a damp sponge to smooth the surface, removing tool marks and creating a seamless appearance.
Step 3: Refining Details
Once the figure is bone-dry, use fine sculpting tools to carve out facial features, hair, and clothing textures. Be gentle, as porcelain is soft at this stage but can break easily. Add small accessories like buttons or jewelry using separate pieces of clay, which you can attach later with slip. Check the symmetry of the figure from multiple angles, making adjustments as needed. This stage allows you to capture the unique character of your figurine.
Step 4: Firing and Finishing
Carefully remove the armature from the base once the clay is completely dry. Bisque fire the figure at a low temperature to harden it without vitrifying. After glazing, apply a thin, even coat of clear or colored glaze. Avoid pooling in recessed areas to prevent drips. Fire the figurine to a high temperature according to your glaze specifications. The result is a delicate, translucent porcelain sculpture that showcases your artistic vision.
Remember that practice is essential for mastering porcelain sculpting. Start with simple forms before attempting complex figurines. Pay attention to drying times and firing schedules to avoid costly mistakes. With dedication, you can create stunning porcelain sculptures that last a lifetime.
FAQ
Q: Can I use regular air-dry clay for porcelain figurines?
A: No, air-dry clay does not vitrify and is not waterproof. You must use true porcelain clay that requires high-temperature firing to achieve durability and translucency.
Q: How do I prevent my porcelain figurine from cracking during drying?
A: Dry the figurine slowly in a covered container to maintain humidity. Avoid direct sunlight or drafts, and remove the armature only when the clay is completely bone-dry to reduce stress.
Q: What is the best glaze for detailed porcelain sculptures?
A: Use thin, clear glazes for detailed areas to avoid obscuring fine work. For colored areas, apply multiple thin coats to build up color without creating a thick layer that might run during firing.
Leave a Reply