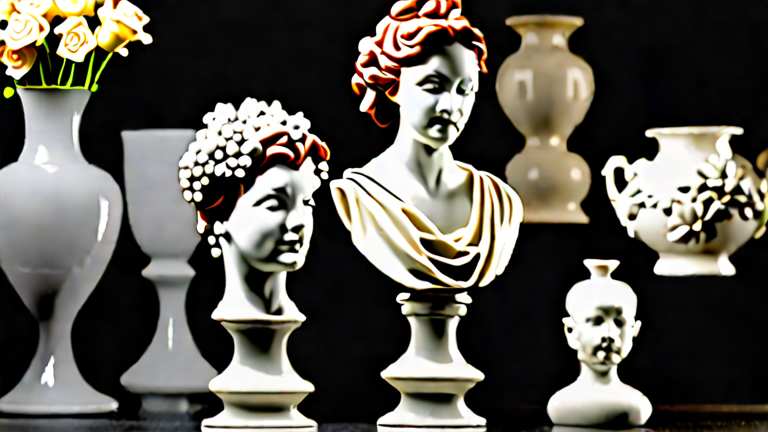
Porcelain Sculpture Tutorial: Step-by-Step Guide for Beginners
TL;DR: To sculpt porcelain as a beginner, start with wet clay, build a simple hollow form (like a bird or flower) using pinch and coil methods, then refine, dry slowly, and bisque-fire before glazing. Master patience and moisture control—porcelain cracks easily if rushed.
Porcelain is the most delicate and rewarding sculpting medium—it’s white, translucent, and unforgiving. Unlike stoneware, it has no grog (added sand), so it shrinks ~15% and demands gentle handling. This guide walks you through creating a small figurine (like a seated cat or abstract bud vase) from wedging to final glaze.
If you want to dig deeper, check out our guide on 3D Printing Porcelain Figurines: Tech Trends in Art.
Step 1: Gather Your Tools and Prepare the Clay
You’ll need: 1–2 lbs of porcelain clay (cone 6 or 10), a wire cutter, a wooden rib, a needle tool, a sponge, a small bowl of water, and a plastic bag. Wedge the clay for 5 minutes to remove air bubbles—tap it into a ball. If it’s too stiff, mist with water and knead. Porcelain must be soft but not sticky; if it cracks at the edges when bent, add a few drops of water.
Step 2: Build a Hollow Base (Pinch Pot Method)
Roll the clay into a ball the size of your fist. Push your thumb into the center, then pinch outward while rotating—keep walls ¼-inch thick. This hollow form prevents explosions in the kiln. For a figurine, make the base (body) as a low, wide pinch pot. For a sculpture with legs, create four small coils and attach them with slip (clay+water paste) using a scoring pattern (# marks).
Step 3: Add the Head and Features
Form a smaller pinch pot for the head. Score both the neck opening and the head’s bottom edge, apply slip, and press together—twist slightly to seal. Use a needle tool to carve eyes, mouth, or fur lines. For ears or wings, make flat teardrop shapes, score, and attach. Keep all attachments moist; cover the whole piece with a damp cloth between steps.
Step 4: Refine and Smooth
Once assembled, let the piece sit for 30 minutes until leather-hard (cool to the touch, no fingerprint). Use a wooden rib to scrape off seams and bumps. Dip your fingers in water and gently smooth the surface—never press hard, or you’ll collapse the walls. For a polished look, use a soft sponge to wipe away tool marks. Add texture (scales, hair strands) with a toothpick or wire brush now.
Step 5: Dry and Bisque Fire
Dry the sculpture for 5–7 days under loose plastic, flipping it daily to prevent warping. It must be bone-dry (no cold spots on your cheek) before firing. Bisque fire to cone 04 (1940°F) slowly—this turns porcelain into a porous, chalk-like state. Do not skip this step; raw porcelain dissolves in glaze.
Step 6: Glaze and Final Fire
Use a brush or dip glaze made for porcelain. Apply 2–3 thin coats, letting each dry. Avoid pooling in crevices—wipe excess with a damp sponge. Leave the bottom unglazed (wipe it clean) to prevent sticking to the kiln shelf. Fire to cone 6 (2232°F) for translucent, glassy results. Cool slowly in the kiln (6 hours minimum) to prevent dunting (cracks).
Pro Tips for Beginners
• Work in small batches—porcelain dries fast; keep unused clay in a sealed bag.
• If a crack appears, score and fill with thick slip, then smooth with a rib.
• Use a heat gun for 10 minutes to speed-dry thin
Leave a Reply