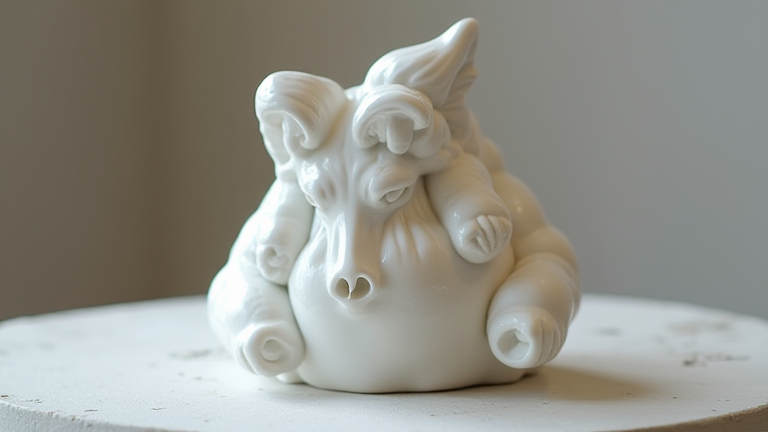
TL;DR: Porcelain sculpture is a three-stage process of shaping, bisque firing, and glazing that transforms soft clay into translucent, glass-hard art. Master the basics of hand-building, control moisture, and respect kiln temperatures to create durable, delicate figurines.
Porcelain Sculpture Tutorial: Step-by-Step Guide for Beginners
Porcelain is the aristocrat of ceramics—white, luminous, and unforgiving. Unlike stoneware, it shrinks up to 15% and warps easily, so precision is everything. This guide walks you through creating a small porcelain figurine (e.g., a bird or seated figure) from wet clay to finished piece.
If you want to dig deeper, check out our guide on Why the Quiet Luxury Trend Is Making Cashmere Sweaters a War.
Step 1: Gather Your Materials
You’ll need: porcelain clay (cone 6 or 10), a wire cutter, a rolling pin with 1/4-inch guide sticks, a needle tool, a small sponge, a flexible metal rib, a spray bottle, a kiln with a programmable controller, and food-safe glaze. Avoid air-dry clay—this tutorial requires true porcelain.
Step 2: Wedge and Condition the Clay
Cut a 1-pound block of porcelain. Wedge it by kneading on a plaster bat for 5 minutes to remove air bubbles—any trapped air will explode in the kiln. If the clay is stiff, mist it lightly and wrap in plastic for 30 minutes.
Step 3: Build the Base Structure
Roll out a slab to 1/4-inch thickness. Cut a simple oval base (3 inches long) and a separate cylinder for the torso. Score both surfaces with a needle tool, apply slip (watered-down clay), and press together. Smooth the seam with a damp sponge. For a figurine, build hollow—solid porcelain thicker than 1/2 inch will crack.
Step 4: Shape the Head and Limbs
Pinch a small ball of clay into a cone for the head. Attach it to the torso using the same score-and-slip method. For arms or wings, roll coils and bend them while still leather-hard. Tilt the head slightly—dynamic angles hide shrinkage warpage. Keep all joints supported with small clay props until leather-hard.
Step 5: Dry to Leather-Hard
Cover the sculpture loosely with plastic. After 24 hours, it should be firm but slightly cool to the touch. Carve details now: eyes, feathers, or drapery folds using a needle tool. Smooth the surface with a metal rib. Re-wet any cracks with a brush dipped in vinegar-water (1:10 ratio).
Step 6: First (Bisque) Firing
Dry the piece slowly for 7–10 days under plastic, then uncovered. When absolutely bone-dry (no cool spots on your cheek), fire to cone 04 (1940°F) with a slow ramp—100°F per hour until 300°F to drive out water, then full speed. Let it cool completely in the kiln.
Step 7: Glazing and Final Firing
Clean the bisque with a damp sponge. Apply 2–3 thin coats of porcelain glaze using a brush, leaving the bottom rim bare. Let each coat dry. Fire to cone 6 (2232°F) for translucent, glassy results. Ramp up at 200°F per hour to 1200°F, then 300°F per hour to peak. Cool slowly—thermal shock cracks porcelain.
Step 8: Cleanup and Display
After cooling, sand any glaze drips with 400-grit sandpaper. Wipe with a damp cloth. Display your figurine on a felt pad—porcelain chips easily on hard surfaces.
Key Tips: Always keep a spray bottle nearby—porcelain dries faster than you think. Work in small sections, and never rush the drying. For your first three
Leave a Reply