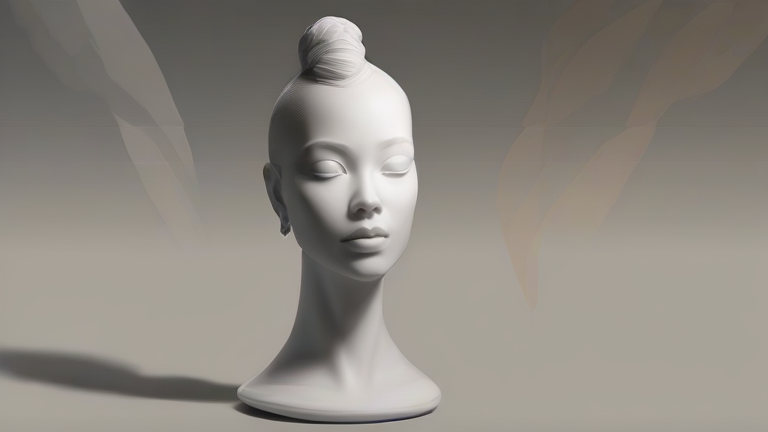
TL;DR: To sculpt a porcelain figurine, you shape wet porcelain clay by hand or with tools, let it dry to leather-hard, refine details, then bisque-fire and glaze-fire it in a kiln. Master the steps below to create a durable, delicate figurine from raw clay to finished art.
Materials You Will Need
Gather porcelain clay (not stoneware—it’s whiter and more translucent), a rolling pin, a wire cutter, sculpting loop tools, a needle tool, a soft brush, a spray bottle, a bat or board, and a kiln with cone 6–10 firing capability. Porcelain is finicky: it shrinks ~12–15%, so design with shrinkage in mind. Keep a damp cloth nearby to prevent cracking.
If you want to dig deeper, check out our guide on Porcelain Figurines: Step-by-Step Sculpting Tutorial.
Step 1: Prepare and Wedge the Clay
Cut your clay block with the wire cutter, then wedge (knead) it for 5–10 minutes to remove air bubbles. Air pockets cause explosions in the kiln. If the clay is too stiff, mist it with water; if too sticky, let it sit on a plaster bat for 30 minutes. Form a solid, compact mass—no hollow areas.
Step 2: Build the Armature (Internal Support)
For standing figurines, create a simple wire armature wrapped in newspaper or foam to support the weight. Porcelain is soft and slumps easily. Attach the armature to a wooden base with clay coils. For reclining figures, skip the armature and build directly on a flat board, using rolled clay slabs for the base.
Step 3: Sculpt the Main Body
Start with a large egg-shaped ball of clay for the torso. Press it onto the armature, then add smaller coils for legs and arms. Use your thumbs to blend seams—porcelain requires seamless joins or cracks appear. Work from bottom to top. Keep the clay slightly moist (spray lightly) but not wet, or it will collapse.
Step 4: Refine Details at Leather-Hard Stage
Wait 2–4 hours until the clay feels like firm cheddar cheese. Now carve facial features, folds in clothing, and hair with loop and needle tools. Use a soft brush to sweep away crumbs. For delicate elements like fingers or flowers, sculpt them separately, attach with slip (clay + water paste), and smooth with a wet finger. Work slowly—porcelain tears easily.
Step 5: Dry and First Fire (Bisque)
Let the figurine dry for 3–7 days, covered loosely with plastic to prevent uneven drying. When completely bone-dry (no cool spots on the surface), place it in a kiln and fire to cone 06–04 (about 1830–1940°F). This bisque firing hardens the clay into a porous, chalk-like state, ready for glaze.
Step 6: Glaze and Final Fire
Apply 2–3 thin coats of porcelain glaze using a brush, leaving the bottom unglazed to avoid sticking to the kiln shelf. Let each coat dry. Fire again to cone 6–10 (2232–2340°F) for vitrification—this makes the figurine translucent and non-porous. Cool slowly in the kiln for 12+ hours to prevent dunting (cracks from thermal shock).
Step 7: Touch-Up and Display
After cooling, sand any rough edges with fine grit. If you want matte finishes, skip the glaze on those areas and use a low-fire overglaze. Dust with a soft cloth. Display away from direct sunlight to prevent fading. Porcelain is fragile—handle by the base, never by limbs.
FAQ
Q: How do I prevent warping during the first firing?
A: Ensure the figurine is completely dry and place it on a flat, kiln-washed shelf. Support
Leave a Reply