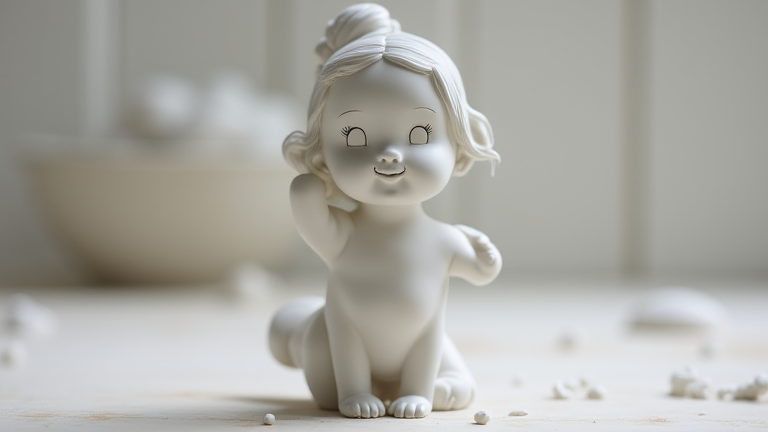
TL;DR: Creating a porcelain figurine involves shaping clay, bisque-firing, glazing, and a final high-temperature firing to achieve a translucent, durable finish. This guide walks you through each stage, from preparing the slip to curing the glaze, with pro tips for avoiding cracks and kiln disasters.
Step 1: Prepare Your Porcelain Slip and Mold
Start with a high-quality porcelain casting slip (liquid clay) or a plastic porcelain body for hand-building. If using molds, ensure they are clean and dust-free. Pour the slip into a plaster mold and let it sit for 3–5 minutes—this builds the “leather-hard” wall thickness. Pour out the excess slip, then let the mold drain upside down for 10 minutes. For hand-sculpting, wedge the clay to remove air bubbles, then roll out slabs 6–8 mm thick.
If you want to dig deeper, check out our guide on Porcelain Figurines: Timeless Elegance for Modern Home Decor.
Step 2: Assemble and Refine the Greenware
Once the cast piece is firm enough to hold its shape (but still slightly damp), carefully remove it from the mold. Trim seams with a metal rib or a damp sponge. Attach separate parts—arms, heads, or bases—using a “slip and score” method: scratch both surfaces, apply thick slip, and press together. Smooth joints with a soft brush. *Tip: Keep a spray bottle of water nearby; porcelain dries fast and cracks if it becomes too dry during assembly.*
Step 3: Dry Slowly and Perform First (Bisque) Firing
Dry the assembled figurine under a loose plastic sheet for 24–48 hours, then unwrapped for another 24 hours. Any moisture trapped inside will explode in the kiln. Once bone-dry (no cool spots when touched to your cheek), fire to bisque at 900°C–1000°C (cone 06–04). This turns the clay into a porous, chalky state ready for glazing. Cool the kiln completely before opening—thermal shock will shatter the piece.
Step 4: Glaze Application and Detail Work
Use a brush, spray gun, or dipping method. For figurines, brush-on underglazes work best for fine facial details and clothing folds. Apply 2–3 thin coats of underglaze, letting each layer dry to a matte finish. Then, apply a clear glossy or satin glaze over the underglazed areas. *Tip: Wax resist is your friend—paint it on the base of the figurine to prevent glaze from fusing to the kiln shelf.* Avoid thick glaze pools at crevices; they will run and blur details.
Step 5: Glaze Firing and Cooling
Fire the glazed piece to 1200°C–1250°C (cone 5–6) for standard porcelain. The glaze will melt into a glassy surface, and the body will vitrify, becoming translucent and non-porous. Ramp the kiln slowly (100°C per hour) until 600°C to avoid bubbling, then full speed. Hold at peak temperature for 15–20 minutes for even melting. Cool naturally—do not open the kiln above 150°C. The slow cooling prevents crazing (fine cracks in the glaze).
Step 6: Post-Firing Finishing Touches
Once cooled, inspect your figurine for sharp glaze drips or rough spots. Use a diamond-grit sanding pad to smooth the base. For gold or platinum accents, apply metallic lustre paints and fire again at a low temperature (750°C–800°C) per the manufacturer’s instructions. Finally, attach felt pads to the base to protect shelves.
Pro Tips for Success
Always wear a respirator when mixing dry porcelain powders—silica dust is hazardous. Keep your work area humid with a damp cloth over unfinished pieces. If a crack appears during drying, fill it with a paste of dry porcelain and vinegar, then re-dry slowly. And never
Leave a Reply