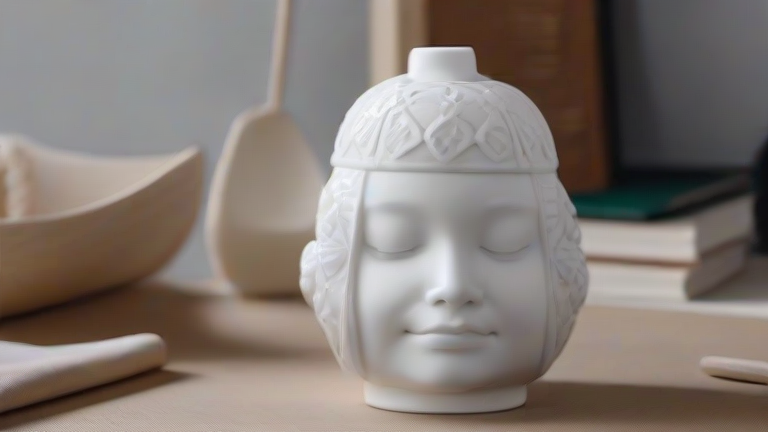
TL;DR: To sculpt porcelain as a beginner, start with wet clay, build a hollow armature, and refine details before bisque firing, then glaze and high-fire. Master patience and moisture control to prevent cracking and slumping.
Porcelain Sculpture Tutorial: Step-by-Step Guide for Beginners
Step 1: Prepare Your Workspace and Clay
Porcelain is finicky—it shrinks ~15% and warps easily. Work on a plaster bat to wick moisture. Wedge 1–2 lbs of porcelain clay (like Standard 365) until no air bubbles remain. Keep a spray bottle and plastic sheet nearby; porcelain dries fast.
If you want to dig deeper, check out our guide on How to Make Porcelain Figurines: Beginner Sculpture Tutorial.
Step 2: Build a Hollow Armature
Never sculpt solid porcelain—it will explode in the kiln. Start with a coil-built cylinder or pinch pot base. For a figurine, form a simple torso and head separately, then score-and-slip attach them. Leave a 1-inch opening at the bottom or back for air escape.
Step 3: Shape the Figure While Leather-Hard
Wait until the clay is leather-hard (cool to touch, no sticky wetness). Use loop tools to carve facial features, folds in clothing, and hair texture. For delicate elements like fingers or a teacup, sculpt them separately and attach with thick slip (clay+water paste). Support thin parts with rolled paper or foam props.
Step 4: Refine and Smooth
Once the figure is fully assembled, use a damp sponge to remove tool marks. For a satin finish, burnish with a metal rib. Pay attention to undercuts—they can trap glaze later. Let the piece dry slowly under plastic for 3–5 days, then uncovered for 2 days. It must be bone-dry (no cold spots) before firing.
Step 5: Bisque Fire to Cone 04 (1945°F)
Place the figurine on a kiln shelf with kiln wash. Fire slowly (100°F/hour) to avoid steam explosions. After cooling, sand any rough edges with fine grit.
Step 6: Glaze and High-Fire
Use brush-on glazes formulated for porcelain (e.g., Amaco Potter’s Choice). Apply 2–3 thin coats, leaving the base unglazed to prevent sticking. For fine details like eyes or lips, use underglaze pencils before clear glaze. Fire to Cone 6 (2232°F) for vitrification. Let cool completely—do not open the kiln above 200°F.
Pro Tips: Keep a damp cloth over unused clay. If a limb cracks, don’t wet it—score, apply thick slip, and wrap in plastic for 24 hours. For a matte finish, skip the clear glaze and polish with a diamond pad after firing.
FAQ
Q: Why did my porcelain figurine slump during firing?
A: Porcelain vitrifies at high temps, so if walls are too thick (over 1/2 inch) or unsupported, gravity causes warping. Keep walls even and hollow, and fire to the clay’s recommended cone—never exceed it.
Q: Can I use air-dry “porcelain” clay instead?
A: No—air-dry clay is not true porcelain and won’t vitrify or become translucent. For genuine porcelain figurines, use a ceramic porcelain body that requires kiln firing to 2232°F or higher.
Q: How do I fix a crack that appears after drying?
A: If the clay is still leather-hard, score the crack, fill with thick slip, and press gently. If it’s bone-dry, mix porcelain dust with white vinegar to make a paste, apply, and re-dry slowly. Cracks after bisque firing are permanent—prevent by drying uniformly.
Leave a Reply