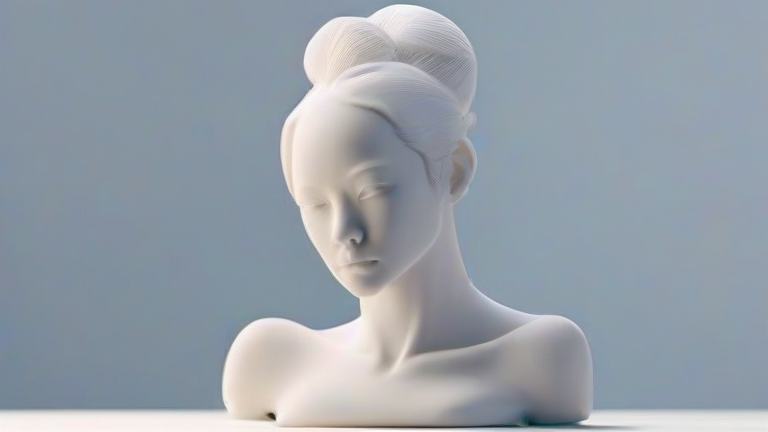
TL;DR: Modern 3D printing now handles high-fire porcelain clays with sub-50-micron layer resolution, enabling sculptors to produce intricate lacework and hollow forms impossible by hand. The latest trend is binder-jetting with alumina-reinforced kaolin, followed by single-step glaze sintering, cutting production time from weeks to under 48 hours.
From Slip-Cast to Sintered: The New Workflow
For decades, porcelain figurines demanded master mold-makers and slip-casting—a process that limited undercuts and thin appendages. Today, two dominant technologies are reshaping the studio. First, digital light processing (DLP) printers using photocurable ceramic slurries (40–55 vol% solids) achieve 25-micron XY resolution. These slurries contain porcelain feldspar and quartz, but require debinding furnaces to remove organic binders before firing. Second, and more disruptive, is binder-jetting: a printhead selectively deposits a silica-based binder onto a bed of 10-micron porcelain powder. This method supports unsupported overhangs (like a dancer’s raised skirt) because the powder bed acts as natural support—no sacrificial scaffolding to sand away.
If you want to dig deeper, check out our guide on Elevate Your Space: The Art of Porcelain Figurines.
Specs That Matter for Figurine Detail
Current production-grade systems (e.g., voxeljet VX4000, 3D Systems ProJet MJP 3600) offer build volumes up to 1,000 × 500 × 400 mm—large enough for a 60-cm figurine. Key specs for sculptors: layer height (15–30 microns for DLP; 50–100 microns for binder-jet), green strength (must survive robotic handling), and shrinkage compensation (porcelain fires at 1,220–1,280°C with linear shrinkage of 12–18%, so software pre-scales the digital model). The latest breakthrough is in-situ glaze deposition: a second printhead jets a low-melting feldspathic glaze onto the green body, then the entire piece is fired once. This eliminates the second glaze firing, reducing energy use by 30%.
Industry Impact: Bespoke Ltd. Editions and Fast Iteration
Porcelain studios like Meissen and Lladró are adopting hybrid workflows—sculptors still hand-finish, but 3D printing enables on-demand replacement parts (a broken finger or wing) without re-making the entire mold. Small studios now offer “custom figurine” services: a customer submits a 3D scan of a pet or child, and the studio prints a porcelain keepsake in 5 days, not 5 months. The economics are shifting: setup costs drop from $3,000 (mold) to $150 (digital file), making limited runs of 10–50 pieces profitable. However, texture remains a challenge—printed porcelain lacks the subtle fingerprint of thrown clay, so many artists apply a final hand-tooled surface before bisque firing.
FAQ
Q: Can I 3D print a porcelain figurine with moving parts (e.g., a ball-and-socket joint)?
A: Yes, but only with binder-jetting—the powder bed leaves gaps between parts. After firing, you must manually break the fragile sintered bridges and polish the joint with diamond paste. DLP cannot produce enclosed moving parts because uncured slurry gets trapped.
Q: What is the minimum wall thickness for a 3D-printed porcelain figurine to survive firing?
A: For binder-jet, keep walls ≥ 1.2 mm; for DLP, ≥ 0.8 mm. Thinner walls warp or crack during the 1,240°C sintering step due to uneven shrinkage. Add internal lattice supports for areas like outstretched arms.
Q: How do I achieve a classic glossy porcelain finish after printing?
A: Use a pre-m
Leave a Reply