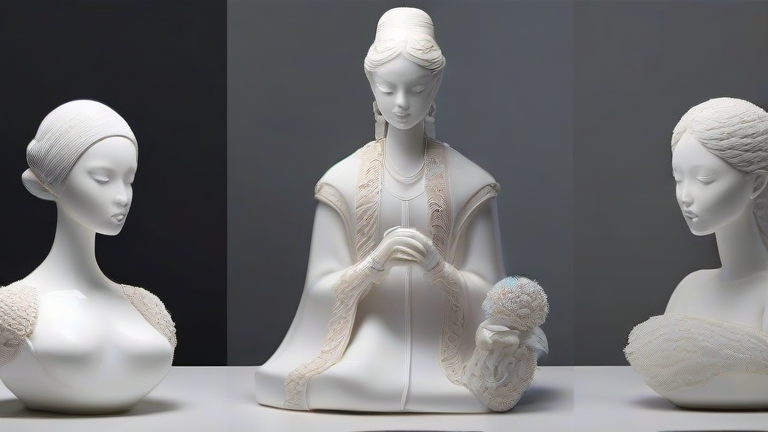
Mastering Porcelain Art: Figurine & Sculpture Tutorial Guide
TL;DR: Master porcelain figurines by combining precise sculpting techniques with controlled kiln firing to achieve delicate details and vibrant glazes. Success relies on consistent material preparation, patience during the drying process, and meticulous attention to surface finishing before and after firing.
Begin by selecting high-quality porcelain clay, known for its fine particle size and low shrinkage rate. Knead the clay thoroughly to remove air bubbles, which can cause explosions in the kiln. For figurines, start with a solid armature made from wire or metal mesh to support the weight of the clay, especially for larger sculptures. Build up the form gradually, adding clay in layers to ensure structural integrity. Use rib tools to smooth transitions and define contours, paying close attention to facial features and hands, as these areas require the most precision. Once the form is complete, allow the piece to dry slowly under a plastic sheet to prevent cracking from rapid moisture loss.
If you want to dig deeper, check out our guide on Porcelain Figurines: Timeless Art for Your Modern Lifestyle.
After the piece reaches bone-dry hardness, inspect it for any hairline cracks. Repair any defects with fresh clay, blending it seamlessly into the existing surface. Fire the piece in a bisque kiln at approximately 1800°F (980°C) for about eight hours. This initial firing transforms the clay into porous ceramic, making it ready for glazing. Apply your chosen glazes using brushes, dipping, or pouring techniques. For figurines, use multiple colors to create depth and realism, ensuring that edges are clear to prevent color bleeding. Allow the glaze to dry completely before the second firing. The glaze firing should reach around 2200°F (1200°C), depending on the specific glaze type. This high heat melts the glaze into a glassy finish, sealing the porcelain and enhancing its translucency.
Tips for success include maintaining a consistent workspace temperature to avoid thermal shock. Always test new glaze combinations on test tiles before applying them to finished sculptures. Use fine-grit sandpaper to smooth any minor imperfections after the final cooling. Store finished pieces carefully to avoid chipping, as porcelain, while durable, can be brittle at thin points. Regularly clean your tools to prevent clay residue from affecting the texture of new projects. Patience is key; rushing any step, particularly drying or firing, can result in ruined works. By mastering these fundamental steps, you can create stunning porcelain figurines and sculptures that capture intricate details and lasting beauty.
FAQ
Q: What is the best clay for detailed porcelain figurines?
A: Fine-grain porcelain clay is ideal because it holds sharp details and has low shrinkage.
Q: How do I prevent cracks during the drying process?
A: Cover your piece with plastic to slow down moisture evaporation and ensure even drying.
Q: Can I use acrylic paints on porcelain sculptures?
A: No, acrylics are not heat-resistant and will not survive the glaze firing process; use ceramic glazes instead.
Leave a Reply