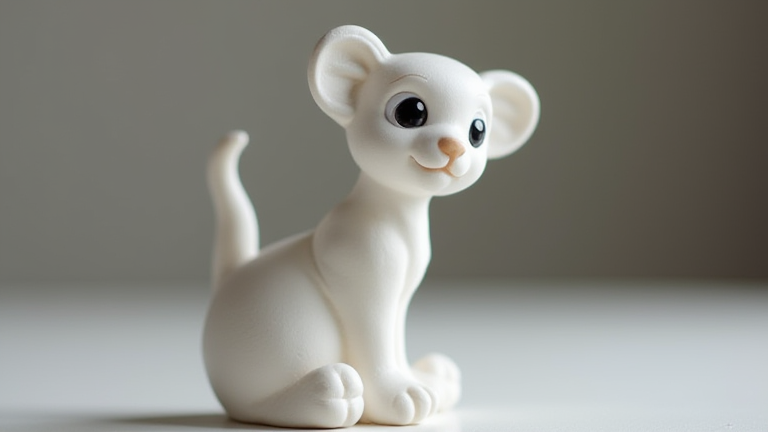
TL;DR: Create stunning porcelain figurines by conditioning high-fire porcelain clay, sculpting details with precise tools, and bisque firing before applying underglazes. Mastering the delicate balance of moisture and patience ensures your ceramic sculptures maintain structural integrity and achieve a flawless, glossy finish.
Gathering Your Essential Materials
Before beginning your artistic journey, ensure you have the correct porcelain clay body. Porcelain is known for its translucency and strength but is notoriously difficult to work with due to its plasticity. You will need a clean, flat workspace, a variety of metal sculpting tools, a sponge, water, and access to a kiln. Unlike soft plasticine, porcelain requires specific handling to prevent cracking during the drying process. Select a smooth, non-porous surface to prevent your work from sticking. Have a wire loop ready to trim excess clay and maintain even thickness throughout your figurine, as uneven drying is the primary cause of failure in porcelain sculptures.
If you want to dig deeper, check out our guide on Porcelain Figurines: Elevate Your Home Decor with Timeless E.
Conditioning and Building the Form
Porcelain clay must be thoroughly wedged to remove air bubbles, which can cause explosions in the kiln. Use the ram’s head method to align the clay particles for maximum strength. Begin your figurine by creating a solid base that is significantly thicker than the upper portions to support the weight. Build up the form in layers, blending each new addition with a rib tool to ensure seamless transitions. Avoid stretching the clay thin, as porcelain has low tensile strength. If you are sculpting delicate features like fingers or hair, add these details last when the base has stiffened slightly. This prevents the heavy base from pulling the delicate parts down.
Refining Details and Drying
Once the basic shape is complete, use fine-pointed tools to carve out facial features and textures. Work slowly, removing small amounts of clay at a time. It is crucial to keep the piece damp while working; if it dries too quickly, it will crack. Cover your unfinished work with a plastic bag to slow down evaporation. Allow the figurine to dry slowly and evenly for several days until it reaches the leather-hard stage. Do not rush this process. Uneven drying is the biggest enemy of porcelain. Once dry to bone-hard, inspect for any micro-cracks and repair them with slip if necessary before proceeding to the bisque firing.
Firing and Finishing Techniques
After the initial bisque firing, which removes chemical water from the clay, you can apply underglazes or slips. Porcelain accepts vibrant colors beautifully, so use thin, even coats to avoid running. Allow the glaze to dry completely before the final glaze firing. The high temperature required for porcelain, often above 2300 degrees Fahrenheit, vitrifies the clay, making it waterproof and durable. Handle your finished figurines with care, as they are still fragile until fully cooled. This rewarding process transforms simple clay into timeless art.
FAQ
Q: Why does my porcelain crack during drying?
A: Cracking usually results from uneven drying or internal air bubbles. Ensure you wedge your clay thoroughly and cover your work with plastic to maintain a consistent moisture level while it dries slowly.
Q: What temperature is needed to fire porcelain?
A: Porcelain requires a high-fire temperature, typically between 2200 and 2400 degrees Fahrenheit, to achieve full vitrification and the characteristic translucent quality of the material.
Q: Can I use porcelain tools for other clay types?
A: Yes, metal sculpting tools are versatile and work well with stoneware and earthenware, but you must adjust your drying and firing schedules to match the specific properties of those clay bodies.
Leave a Reply