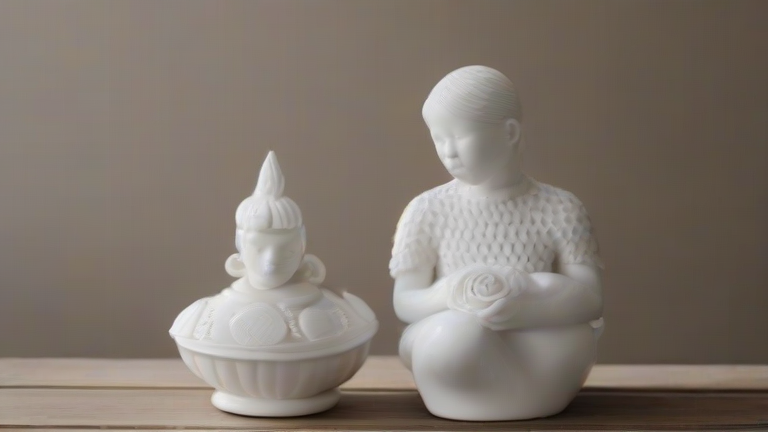
TL;DR: Create durable porcelain figurines by carving a wax master, casting a silicone mold, and pressing high-fire porcelain slip into it. The process requires precise temperature control during the bisque and glaze firings to ensure structural integrity and a smooth, glossy finish.
Step 1: Design and Master Sculpture
Begin by designing your figurine using digital software or hand-sculpting a master from wax or oil-based clay. The master must be perfectly smooth, as any imperfection will transfer to the final porcelain piece. Ensure all undercuts are minimized to facilitate easy unmolding later. If you are sculpting by hand, use fine detailing tools to add texture and facial features. Remember that porcelain shrinks significantly during firing, so your master should be slightly larger than the desired final size. Once satisfied with the form, prepare the master for molding by applying a thin layer of release agent to prevent adhesion.
If you want to dig deeper, check out our guide on Digital Sculpting: 3D Printing Porcelain Figurines.
Step 2: Molding the Mold
Cast a flexible silicone mold around the master. Use a high-grade platinum-cure silicone for the best detail retention. Pour the silicone in sections to allow for easy removal and to ensure the material flows evenly into all crevices. Allow the silicone to cure completely according to the manufacturer’s instructions. Once cured, carefully remove the master, inspecting the mold for any bubbles or flaws. Clean the mold thoroughly to remove any residual wax or clay particles. A high-quality mold is essential for producing consistent, high-resolution figurines. If you plan to produce multiple copies, consider creating a two-part mold system to handle complex shapes.
Step 3: Slip Casting
Prepare your porcelain slip by mixing kaolin, feldspar, and quartz with water until it reaches a heavy cream consistency. Pour the slip into the silicone mold, ensuring it fills every detail. Let it sit for several hours until a thick layer of porcelain forms on the mold walls. Drain the excess slip, leaving a thin shell. Allow the cast to dry completely in a controlled environment to prevent cracking. Once leather-hard, remove the figurine from the mold and trim any excess material with sharp knives. Smooth the surface with a sponge or rubber rib. Keep the piece moist with a plastic bag to prevent uneven drying.
Step 4: Firing and Glazing
Bisque fire the dried figurine at cone 06 to remove chemically bound water. After cooling, apply a thin, even coat of clear glaze using a dipping or spray method. Avoid glazing any areas that will touch the kiln shelf. Fire the glazed piece at cone 6 for a strong, vitrified finish. Allow the kiln to cool slowly to prevent thermal shock. Inspect the final figurine for cracks or glaze imperfections. With proper care, your porcelain figurine will be a lasting work of art.
FAQ
Q: What is the best clay for porcelain figurines?
A: High-fire porcelain is ideal because it offers superior strength, translucency, and a smooth, white surface that enhances fine details after glazing.
Q: How long does the entire process take?
A: The total time ranges from three to five weeks, including drying, bisque firing, glazing, and the final glaze firing cycle.
Q: Can I use air-dry clay for molds?
A: No, air-dry clay is not suitable for making masters because it lacks the structural integrity and heat resistance required for precise silicone molding and casting.
Leave a Reply