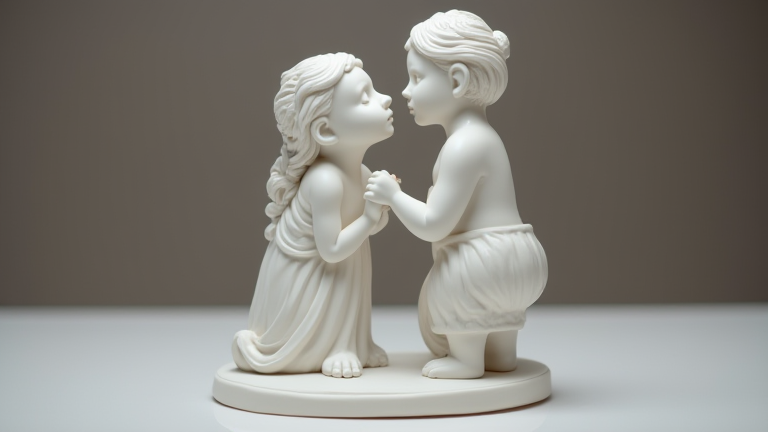
TL;DR: To sculpt porcelain figurines, condition the clay, build an armature, and add clay in small increments, refining details with specialized tools before bisque firing. After the first firing, glaze or paint, then fire again to vitrify the porcelain into a translucent, durable sculpture.
How to Sculpt Porcelain Figurines: Step-by-Step Guide
Step 1: Prepare Your Materials and Workspace. Use a true porcelain body (not stoneware) with a fine particle size, such as a cone 6 or cone 10 porcelain. Wedge the clay thoroughly to remove air bubbles—porcelain is notoriously finicky and traps air easily. Keep a spray bottle and plastic wrap nearby, as porcelain dries fast and cracks under stress. Work on a plaster bat to absorb moisture evenly.
If you want to dig deeper, check out our guide on Porcelain Figurine Sculpting: A Step-by-Step Beginner’s Guid.
Step 2: Build a Sturdy Armature. For any figurine taller than 3 inches, create an internal support using aluminum wire or a steel rod. Wrap the armature with newspaper or masking tape to give the clay something to grip. Porcelain has low plasticity, so unsupported limbs will slump or tear. Ensure the armature is removable or fully embedded—never leave exposed metal, as it will rust during firing.
Step 3: Add Clay in Small Increments. Do not try to carve a figure from a solid block. Instead, press small walnut-sized pieces of porcelain onto the armature, blending each with your fingers or a rib. Build the torso, head, and limbs separately, keeping joints slightly moist. For delicate features like fingers or facial details, use a needle tool and a soft brush dampened with water to smooth seams.
Step 4: Refine and Hollow Out (If Solid). Once the basic form is set, let it firm up to “leather-hard” (cool, stiff, no stickiness). At this stage, carve texture, folds in clothing, or facial expressions. If the figurine is solid, carefully cut it in half with a wire tool, hollow out the interior to a wall thickness of ¼ inch, then reattach the halves with slip. This prevents steam explosions in the kiln.
Step 5: Dry Slow, Bisque Fire, Then Glaze. Dry the figurine under plastic for 3–5 days, then unwrapped for another 2–3 days. Bisque fire to cone 04 (1945°F) to make it porous. After cooling, apply underglazes or stains for color, then a clear glossy or matte glaze. Fire again to cone 6 (2232°F) for full vitrification—porcelain becomes translucent and non-porous. Always use a kiln with a slow ramp to avoid thermal shock.
FAQ
Q: Can I use air-dry porcelain clay instead of kiln-fired clay?
A: No—air-dry “porcelain” is a marketing term for polymer or paper clay; it lacks the glass-like translucency and durability of true fired porcelain. For authentic figurines, you must use ceramic porcelain and fire it in a kiln.
Q: Why does my porcelain crack while drying?
A: Cracking usually comes from uneven drying or an armature that resists shrinkage. Wrap thin parts (ears, fingers) in damp cloth while letting thicker areas dry first, and ensure your armature is flexible or removed before the leather-hard stage.
Q: How do I get a smooth, glossy finish without brush marks?
A: After bisque firing, sand the surface with 400-grit sandpaper before glazing. Apply glaze in 3 thin coats using a spray gun or dip method, allowing each coat to dry. For a mirror finish, use a food-safe clear glaze formulated for porcelain and fire to the manufacturer’s recommended cone.
Leave a Reply